This gluten free Oreo pie crust is perfect in every way! It's chewy and firm but not crunchy or hard. It's ideal for no-bake gluten-free pies. Only 5 minutes of hands-on time!

Why You'll Love it:
If you haven't tried gluten free Oreos yet, you're in for a treat. My entire family agrees they taste just like the gluten-filled ones! No strange aftertaste or weird texture issues.
They make a stellar gluten free chocolate pie crust too! And it's stupid simple. Just throw the ingredients into a food processor and pulse. It's that easy!
This gluten free Oreo crust is perfect for peanut butter pie, ice cream pie, or cheesecakes. Rich, ultra-chocolatey, and perfectly sweet.
Key Ingredients:

- Gluten free Oreos: For the best results, use gluten free Oreos! I can't guarantee this recipe will work with another brand of gluten free chocolate sandwich cookies. Gluten free products are hit or miss in terms of taste and texture.
- Unsalted butter: To moisten and bind the cookie crumbs.
- Milk: Adds a little bit more moisture!

How to Make a Gluten Free Oreo Crust:
This recipe is super simple! Everything goes into the food processor and gets pulsed together. I don't recommend pulsing the cookies first.
- Combine butter, cookies, and milk in your food processor.
- Pulse until the mixture looks like wet, pasty sand. Don't worry! All the extra moisture will bake out.

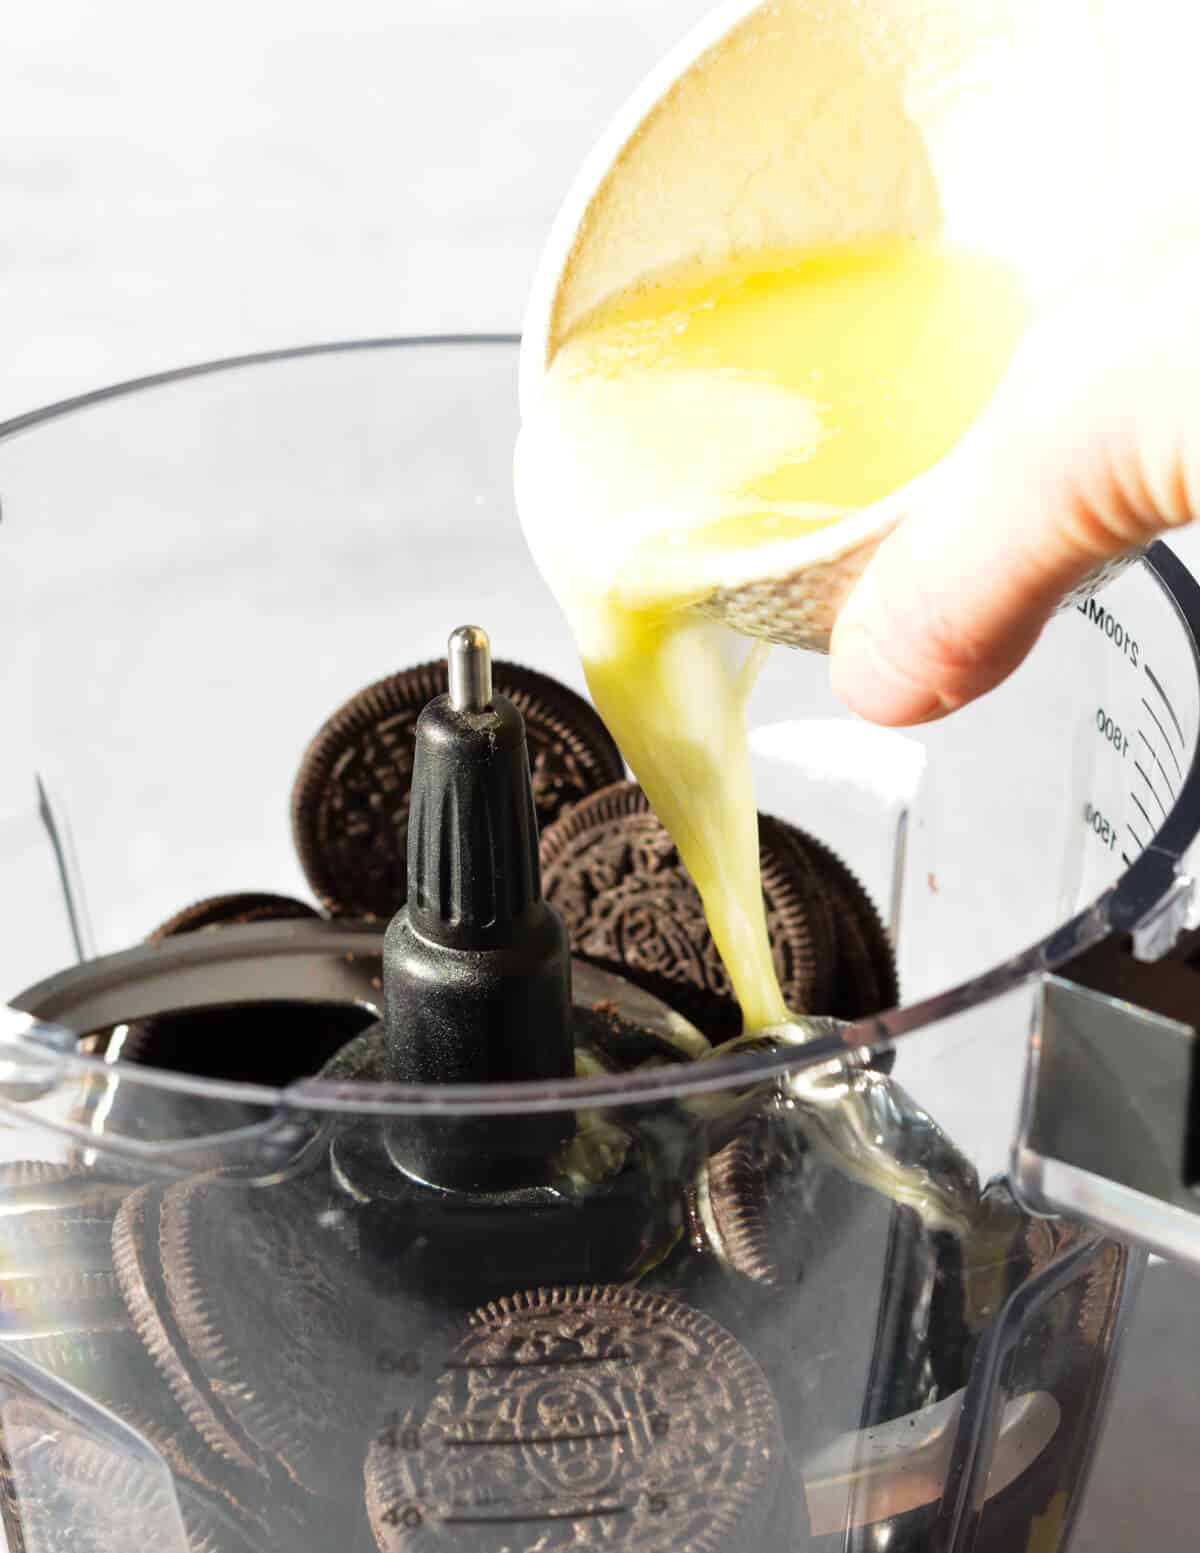
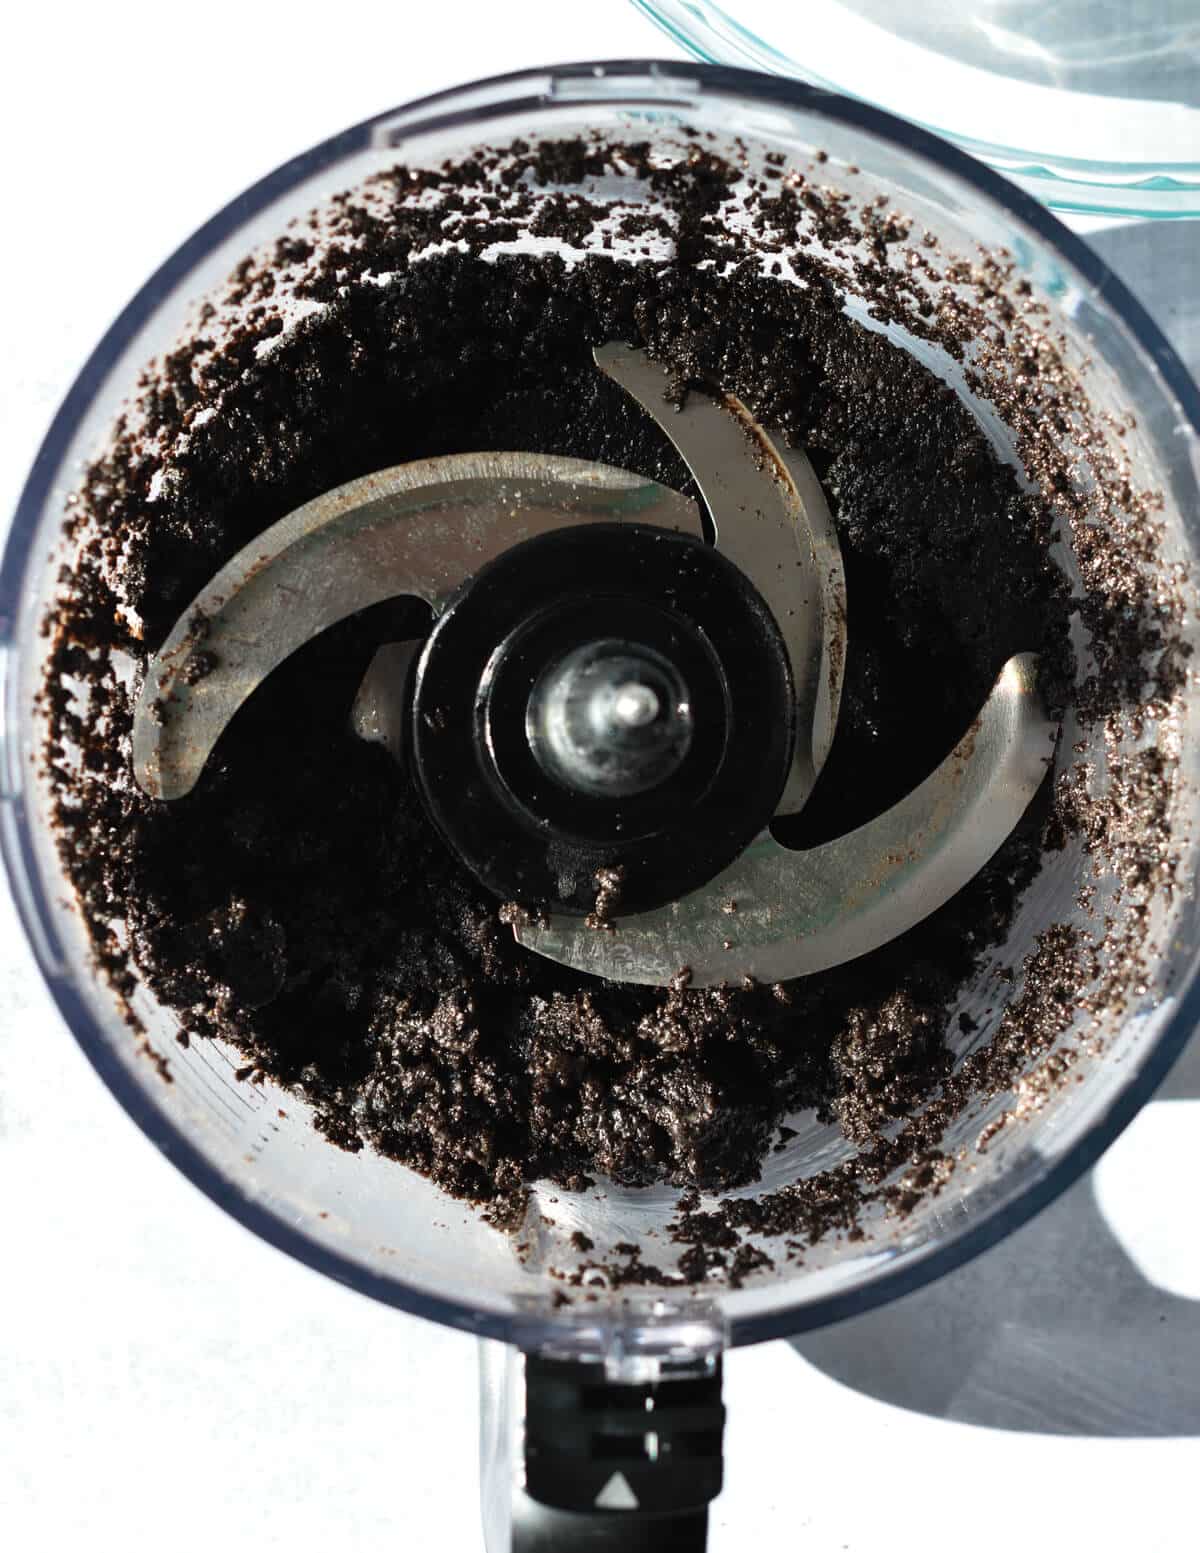

- Dump the mixture into your pie plate. No need to grease it!
- Press it into the pie plate. Try to avoid holes and gaps. Don't be afraid to use your hands to move it around. A measuring cup helps press it into the pan.

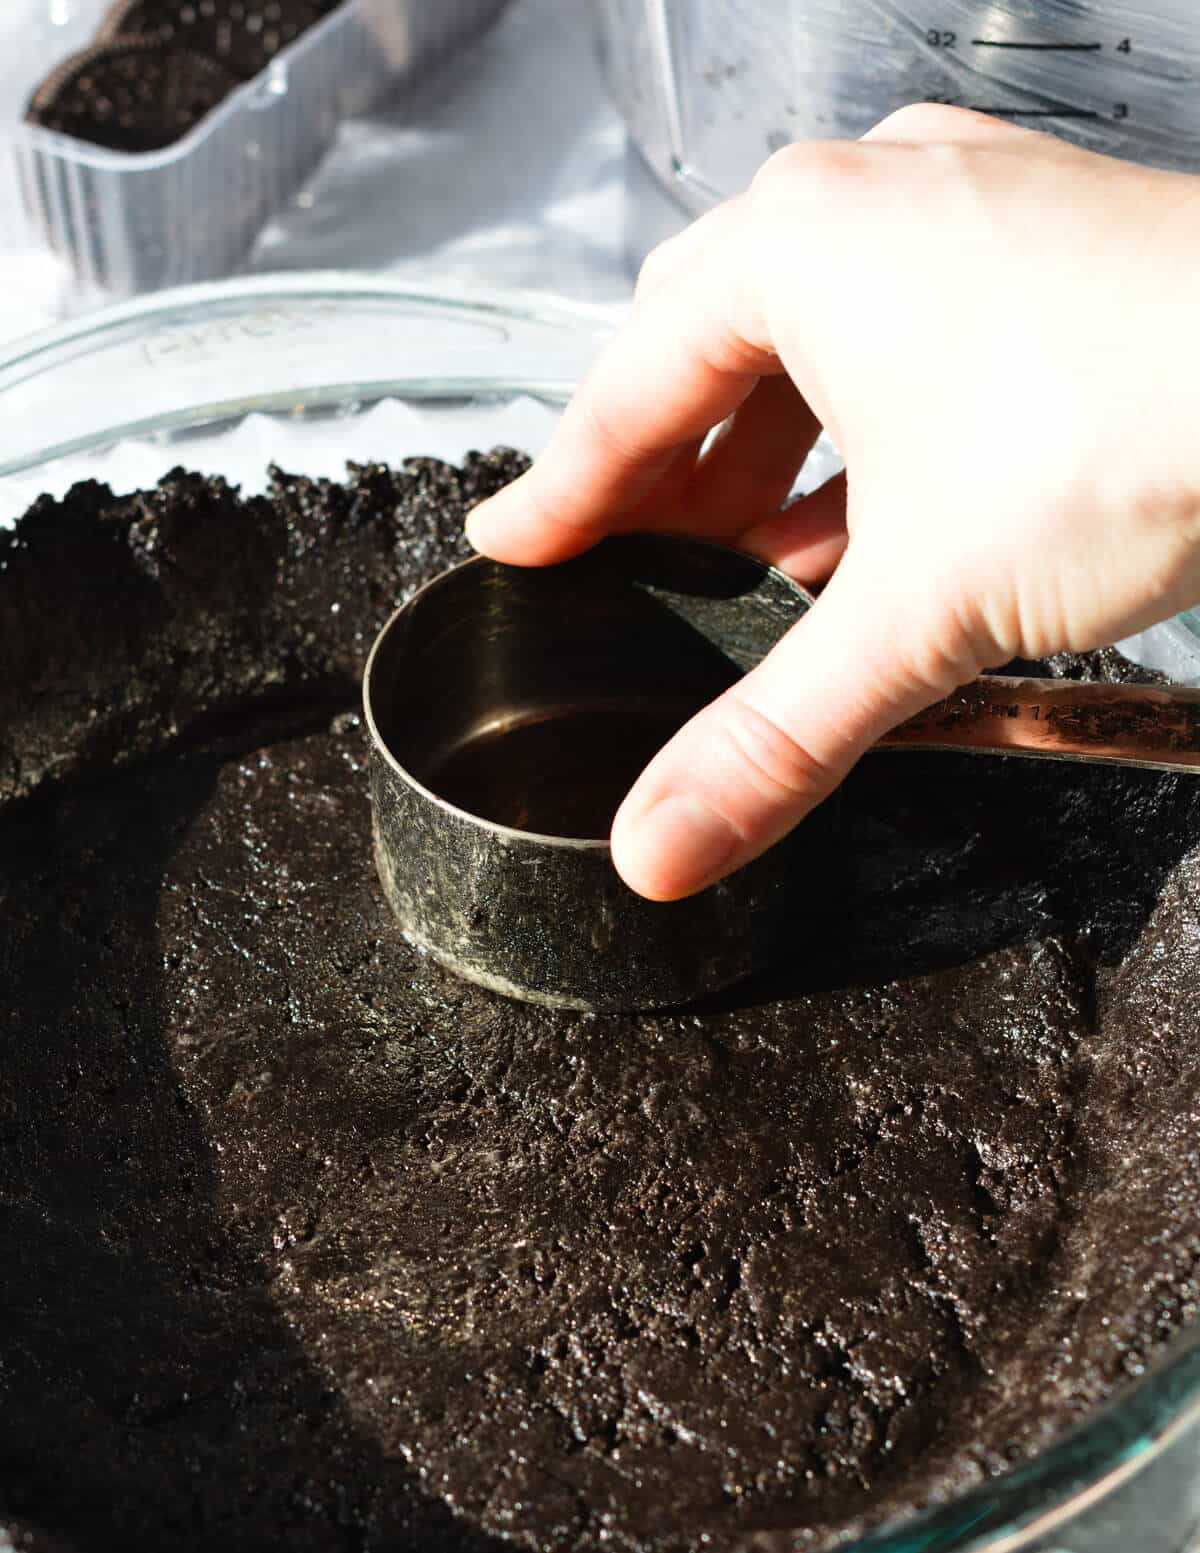
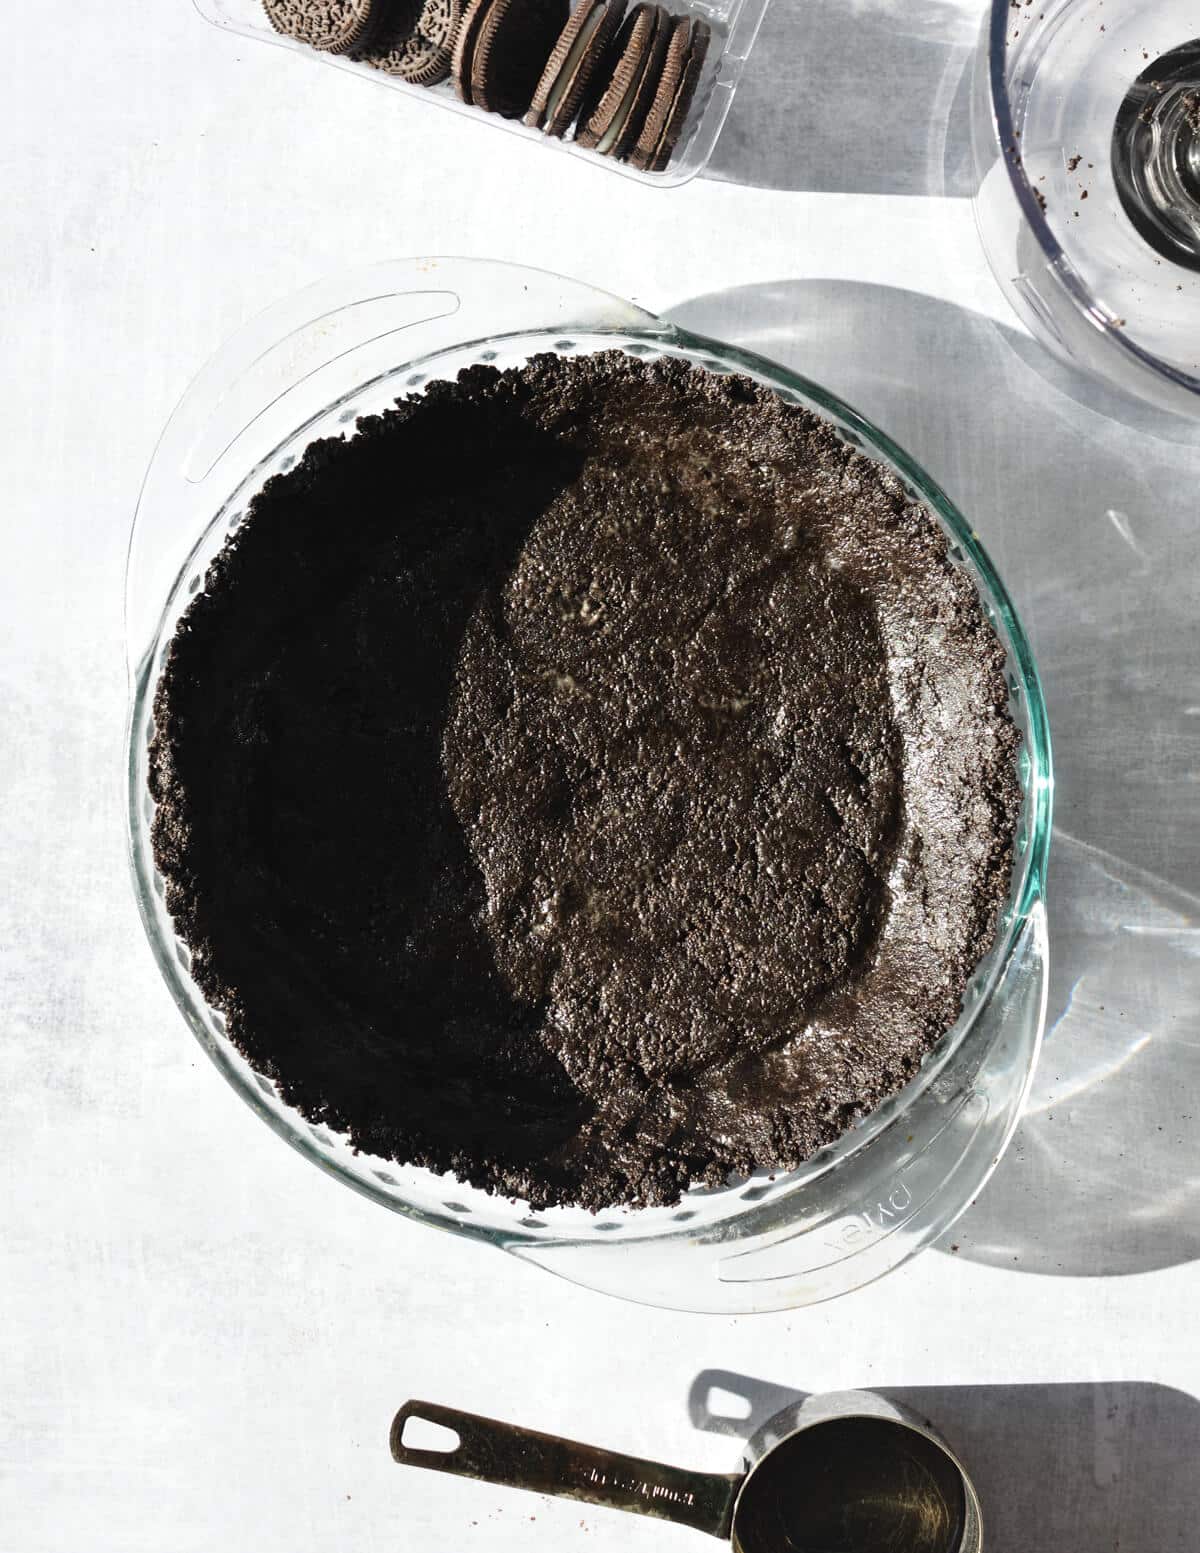
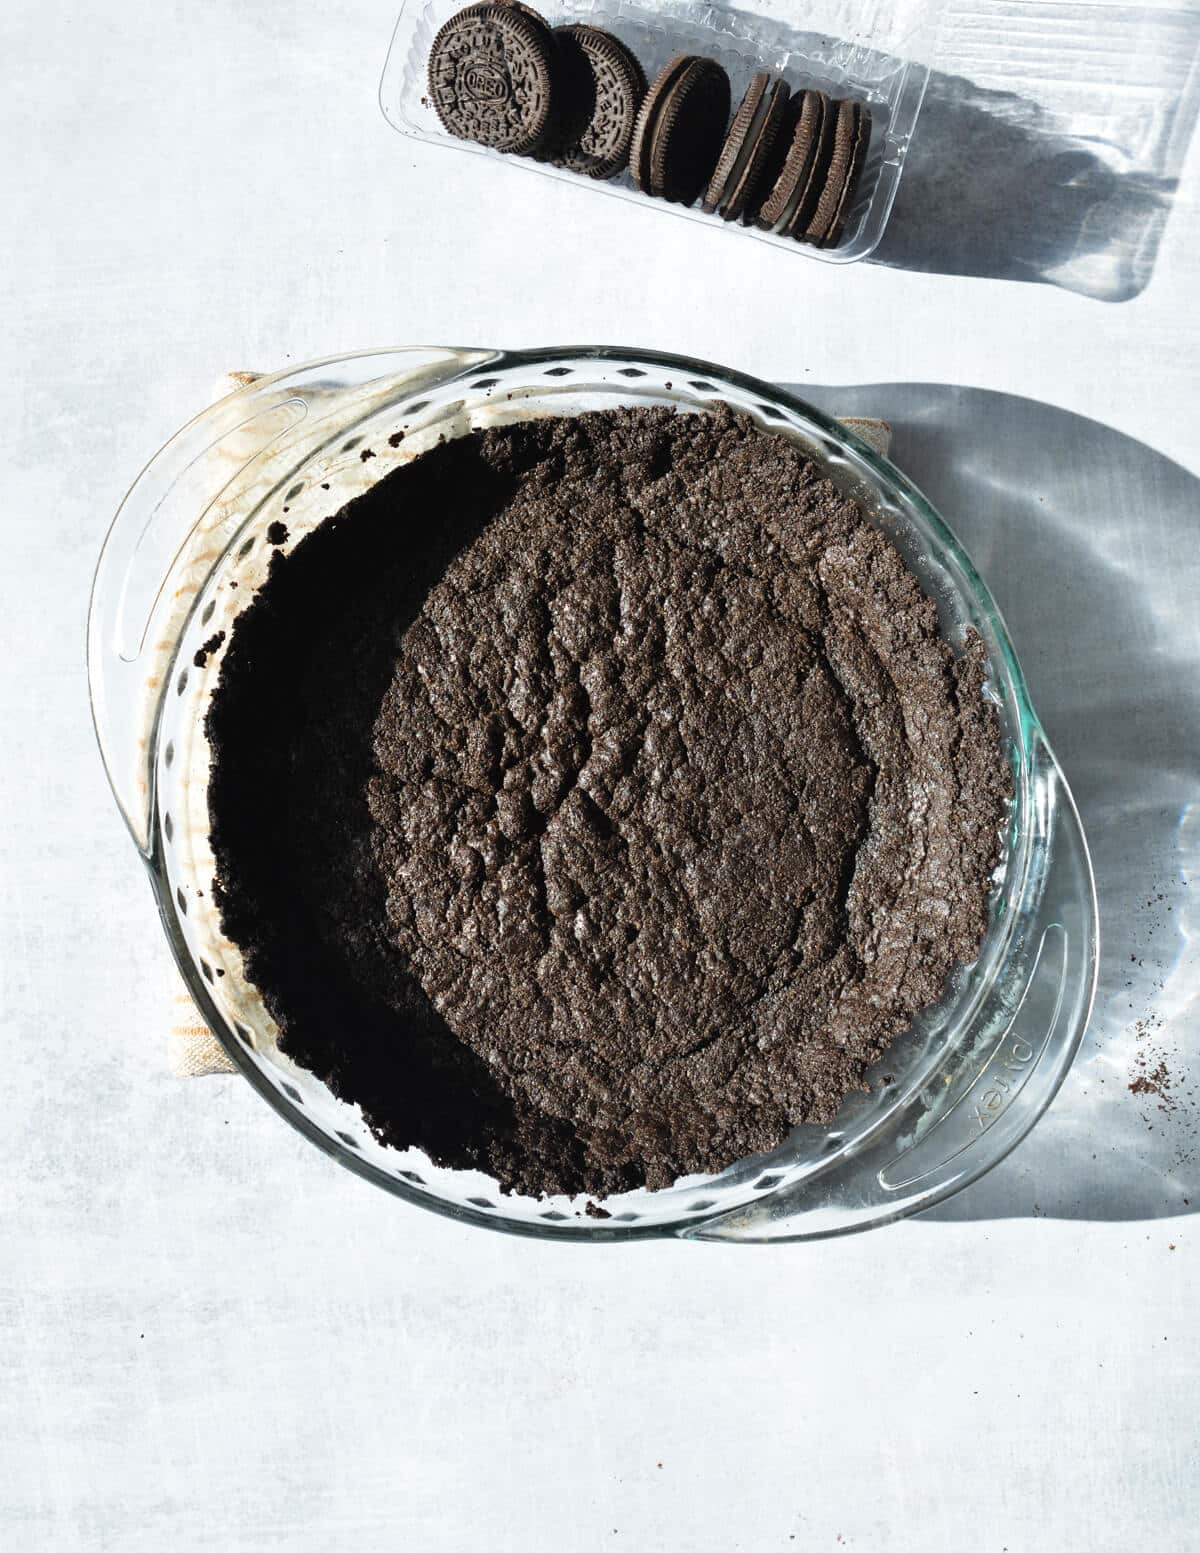
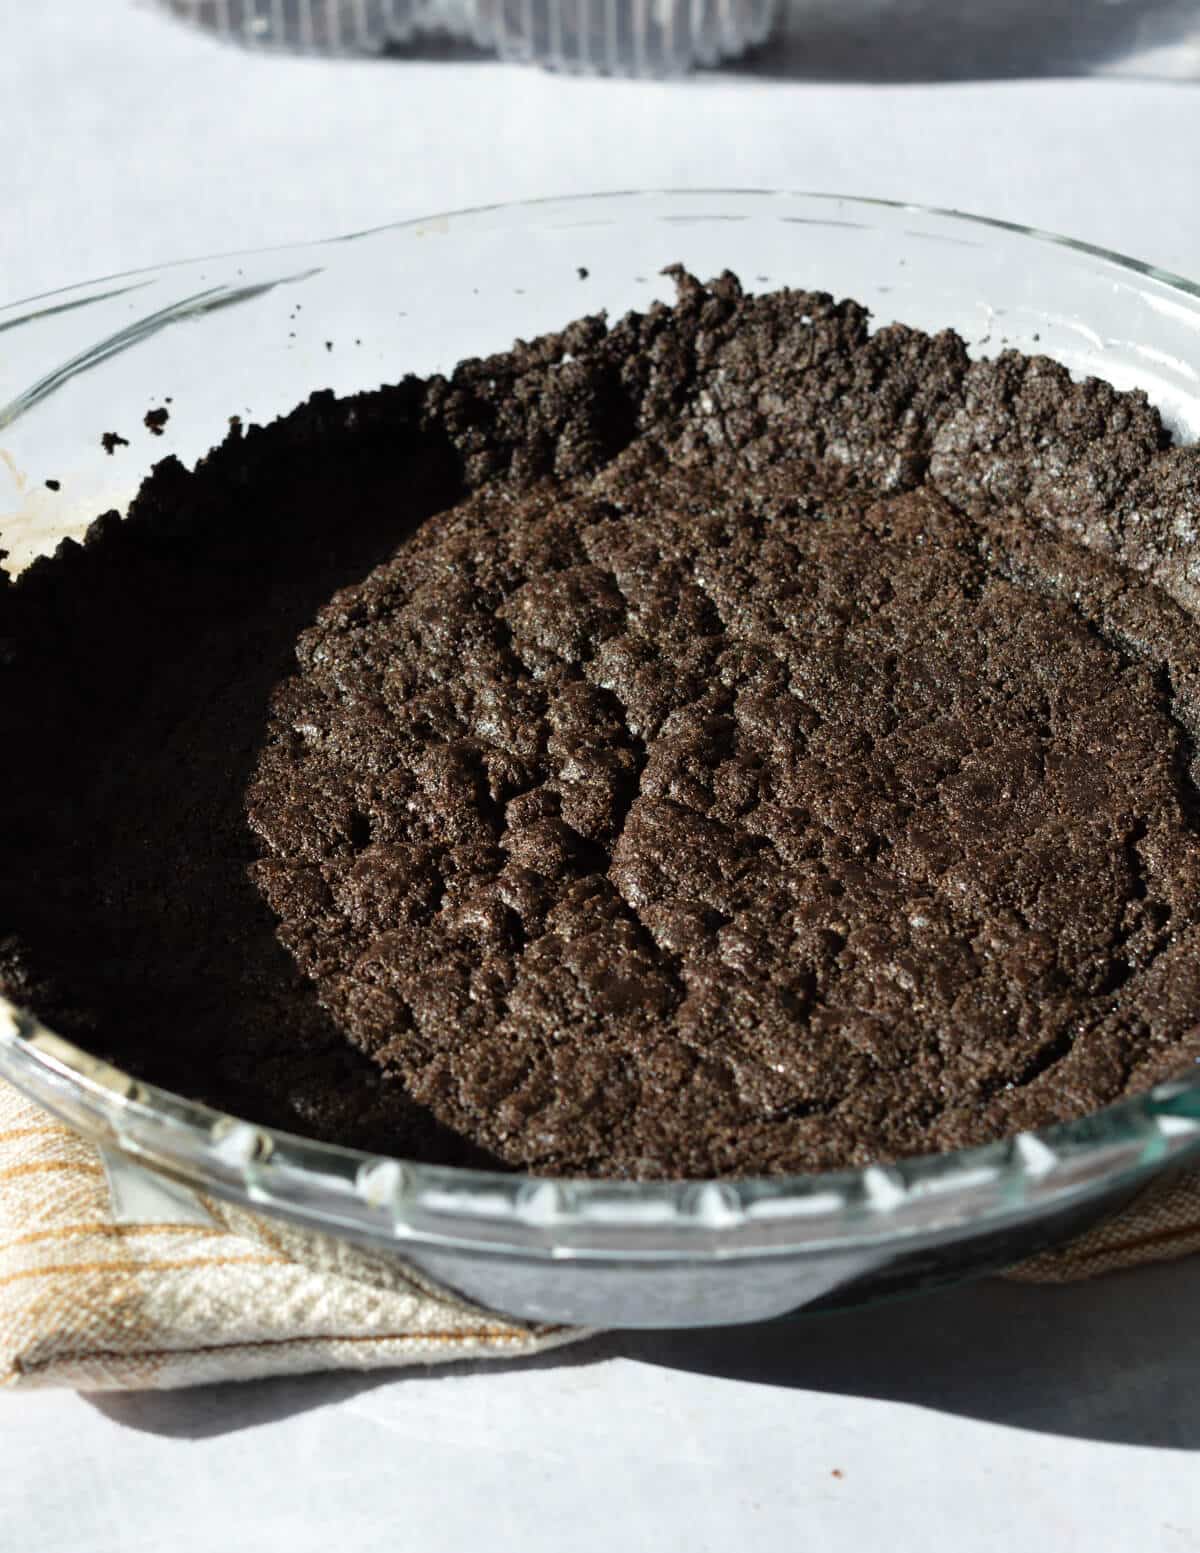
- Bake for no longer than 12 minutes. You don't want to overbake it! The crust rises in the oven, but it will sink again as it cools.
Recipe Tips:
- Pulse all the ingredients together. I tried pulsing the cookies first, then adding the butter and milk. The results were similar, but slightly greasy. Plus it's easier to do it all at once anyway!
- This gluten free chocolate crust is on the chewier side. If you prefer a crunchy crust, decrease the butter to 5 tablespoons. I tried it both ways and I prefer the recipe as written.
- The sides shrink in the oven. If you want tall sides, make sure and press the crust all the way up the sides.
- The chocolate crust puffs up as it cooks. Don't worry, it will sink again as it cools!
Ways to Use a Gluten Free Chocolate Pie Crust:
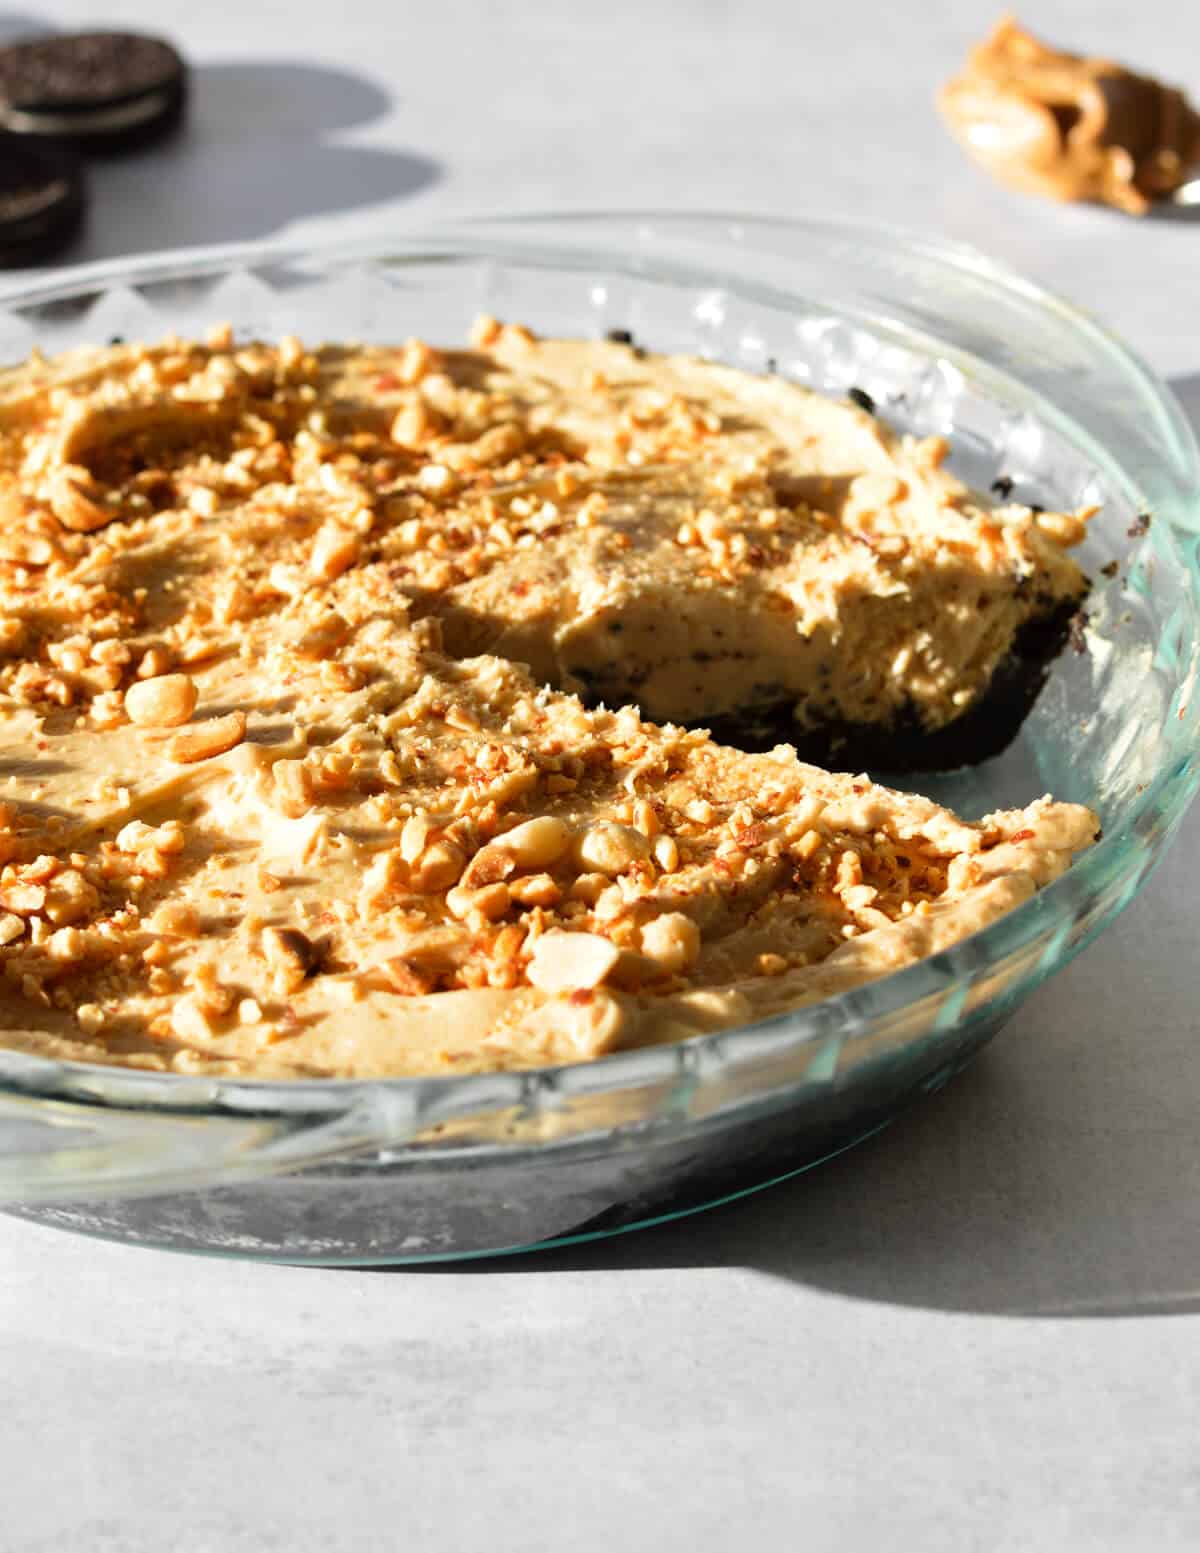
You can use this pie crust in any recipe that calls for a chocolate pie crust! Here's a few of my favorite ways to use it:
- Gluten free ice cream pie - Fill with softened ice cream, then freeze. Mint chocolate chip and chocolate are my favorite flavors!
- No bake or regular cheesecakes
- Peanut butter pie - My favorite way to use it!
- French silk pie
Remember to let the crust cool completely before you add cold fillings! Otherwise you will have pie soup.
Storage:
- Store the chocolate pie crust at room temperature for up to 3 days. Let it cool first, then wrap in saran wrap.
- This gluten free Oreo crust is freezer friendly! Let it cool, wrap in saran wrap, then freeze for up to 3 months.
FAQs:
Yes! Swap the butter with a vegan alternative and swap the milk with water. Gluten free Oreos do not contain animal products or dairy.
Yes, you just need to use your muscles! Place the Oreos in a large zip-top bag and squeeze out the air. Crush into fine crumbs with a rolling pin. Transfer the crumbs to a large bowl, then mix with the melted butter and milk.
Gluten-Free Dessert Recipes:
- Gluten Free Blueberry Pie
- Flaky Gluten Free Pie Crust
- Gluten Free Chocolate Chip Cookies
- One bowl Gluten Free Brownie Recipe

Gluten Free Oreo Pie Crust
Equipment
- 9-inch pie pan
Ingredients
- 24 gluten free Oreos note 1
- 6 tablespoons unsalted butter
- 1 tablespoon whole milk
Instructions
- Preheat oven to 350 degrees Fahrenheit.
- In a large food processor, combine the Oreos, melted butter, and milk. Pulse until the Oreos are pulverized and the mixture forms a sandy paste.
- Dump the Oreo mixture into an ungreased 9-inch pie pan. Use your hands to move the mixture around evenly and up the sides of the pie pan.
- Use the back of a measuring cup to press the mixture into the pan without any holes or gaps. You can use your fingers or a spoon for the edges.
- Bake for 11 to 12 minutes. When you remove the crust from the oven, it should look puffed up. It will sink back down as it cools.
- Use for all your favorite no-bake pie fillings. If you plan to bake the filling, reduce the bake time to 10 minutes.


Leave a Reply