A breakfast lover's dream! These honey pancakes are light and fluffy with a subtly sweet flavor from the honey. They're easy to make and freezer-friendly!

Why You'll Love it:
I could write a love poem about these honey pancakes! They're everything you want in a pancake with a subtle kiss of honey.
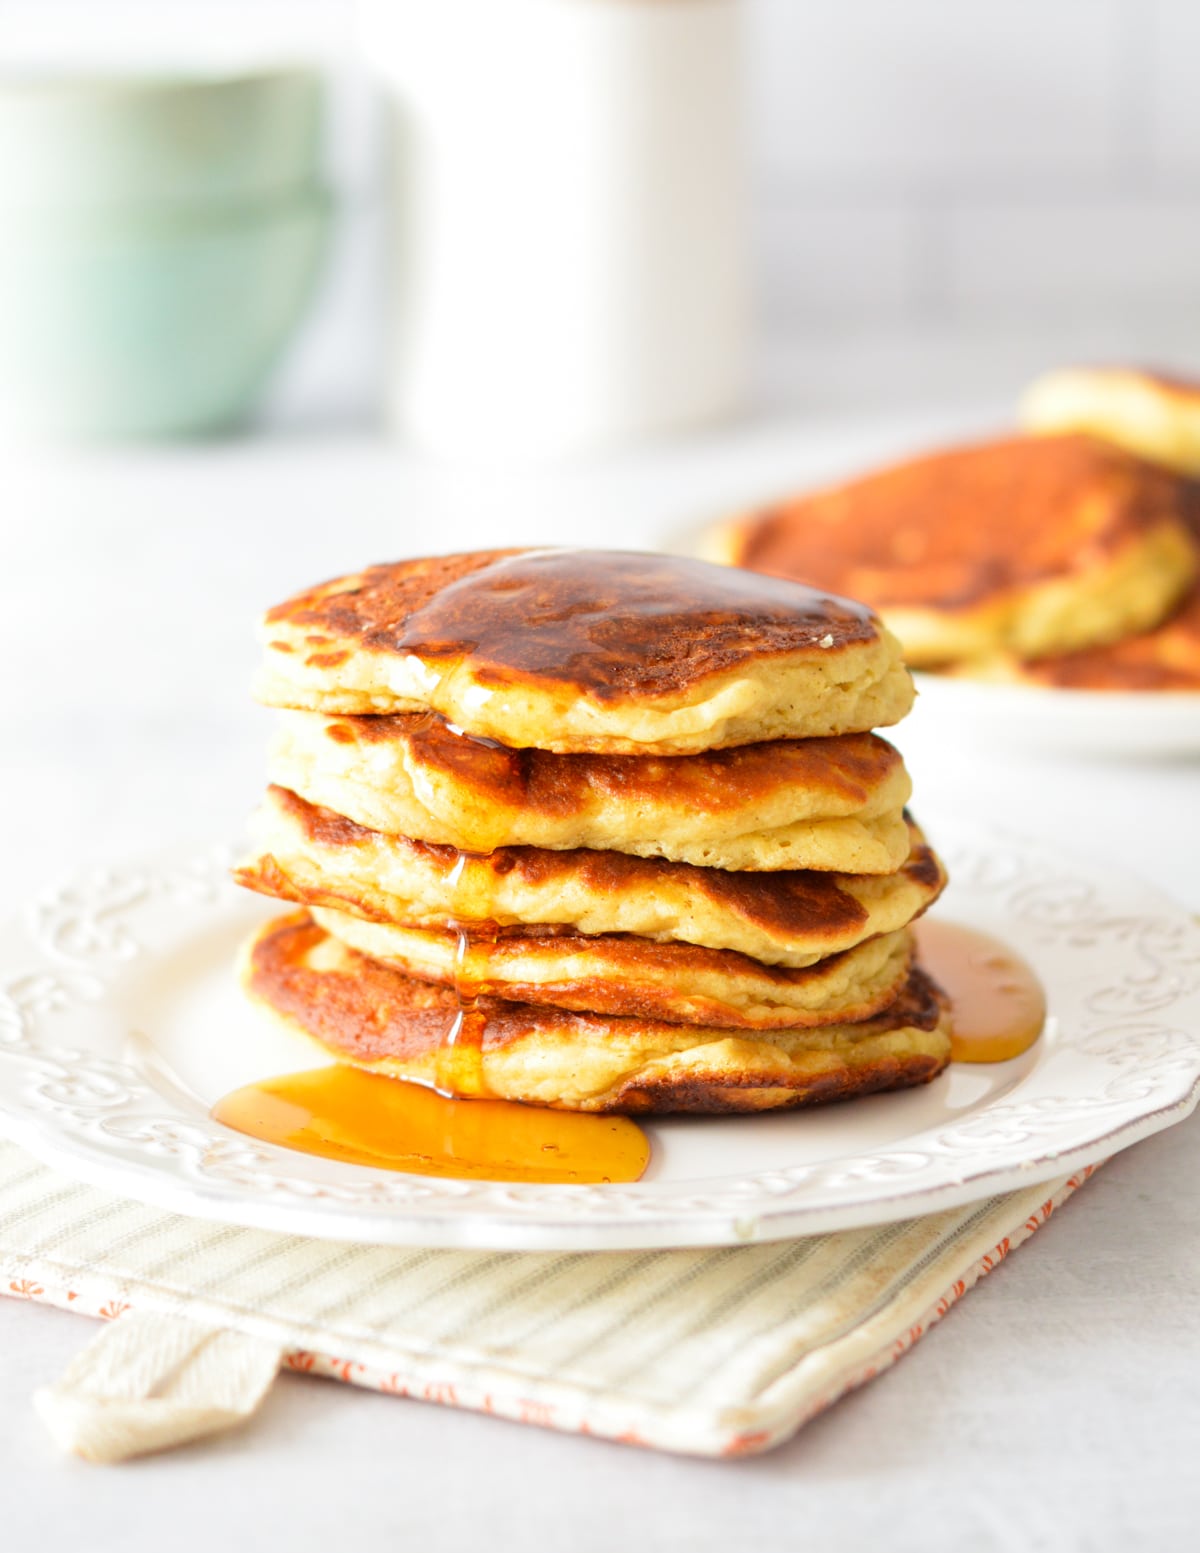
They're light, thick, and fluffy - NOT dense! And freezer-friendly too! I love to make them on the weekends and freeze them for busy school mornings.
Just pop a pancake in the microwave and you've got a hot breakfast in 30 seconds.
This honey pancake recipe is the only pancake recipe you'll ever need. It's made with honey instead of white sugar and the results are crave-worthy!
And I don't say that lightly. I have extremely high standards for breakfast foods.
Key Ingredients:
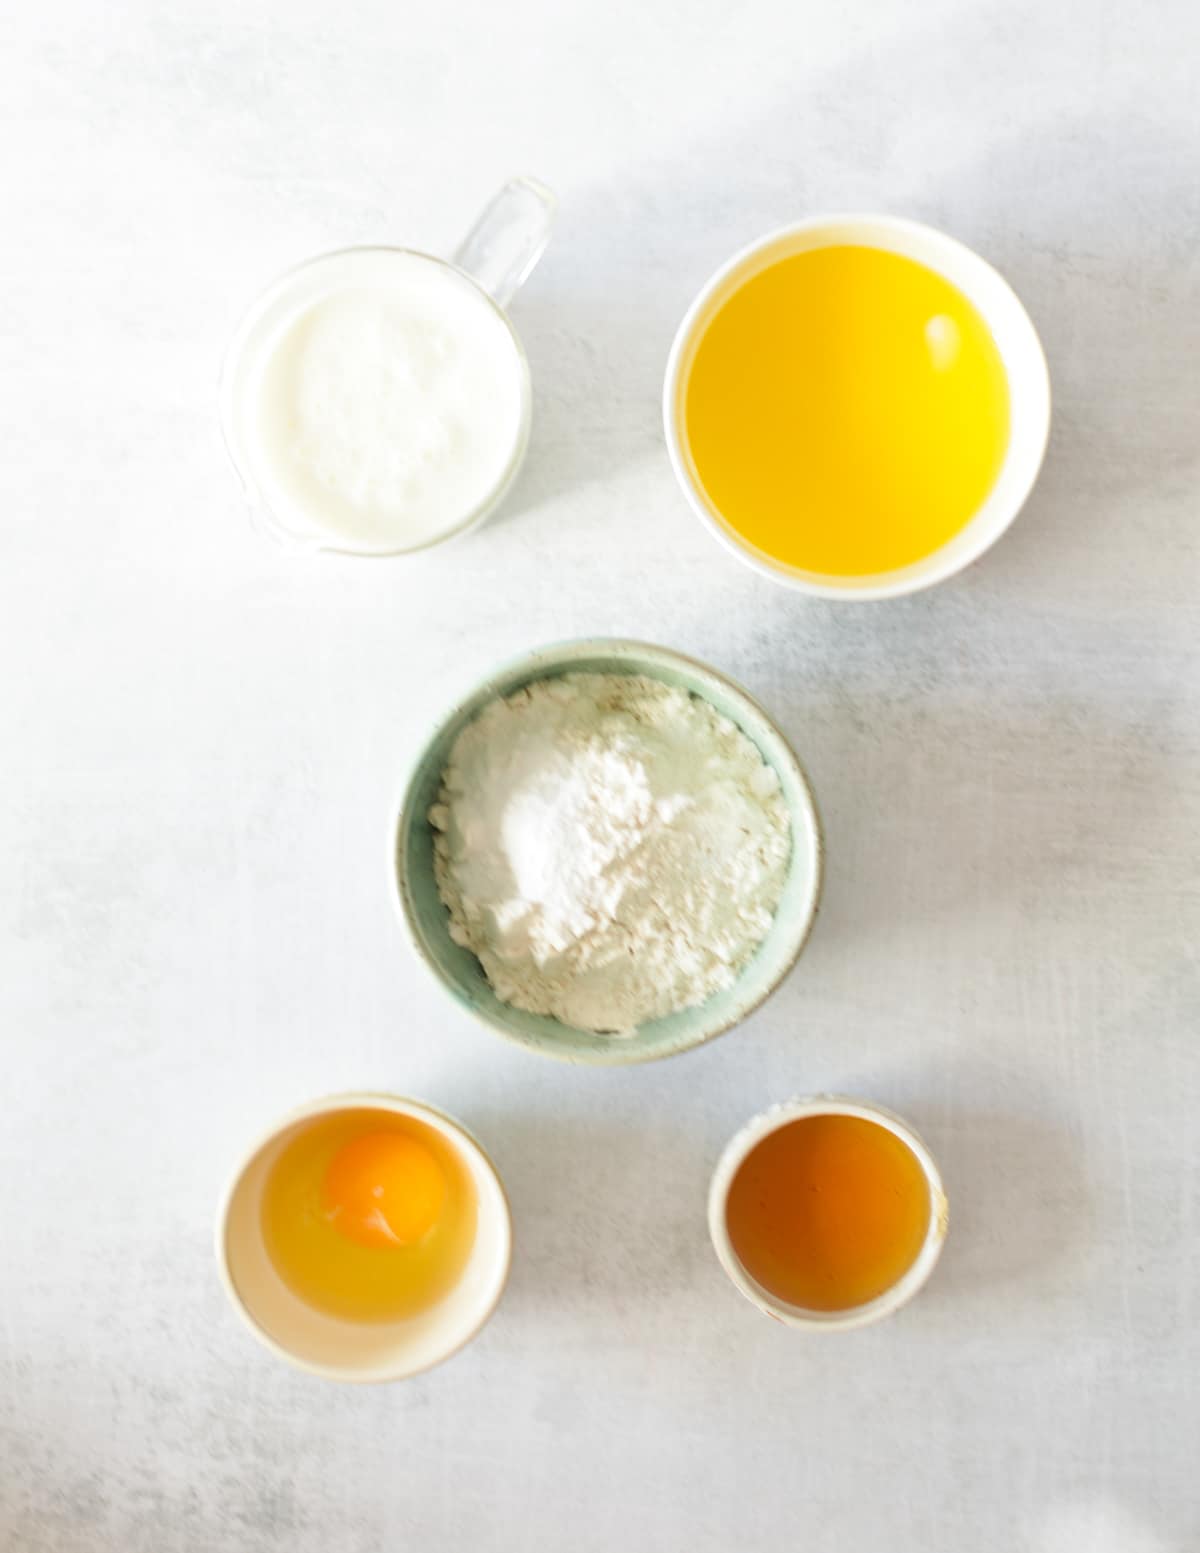
All-purpose flour - All-purpose flour creates a light and fluffy texture! I don't recommend swapping the flour with wheat flour.
Baking powder & soda - Leavening is crucial! Make sure your leavening isn't collecting dust in your cabinets. Old baking powder won't taste bad, but it loses effectiveness.
Melted butter - Butter doesn't weigh down your batter. It does the opposite. Butter creates a moist and fluffy pancake! If you don't have butter, you can swap it with vegetable oil, but it won't be quite as fluffy.
Buttermilk - Use real buttermilk! Don't swap with whole milk and vinegar. Homemade buttermilk isn't as thick and doesn't provide the same results. Since the viscosity is different, the batter won't be thick enough either.
Honey - For that subtle honey flavor! Use your favorite brand/type of honey.
How to Make Honey Pancakes:
Pancakes are simple to make, but there are a few important details to know. Here's what you need to do:
Make the Pancake Batter
In a large bowl, combine the all-purpose flour, baking powder, baking soda, and salt. Stir to combine.
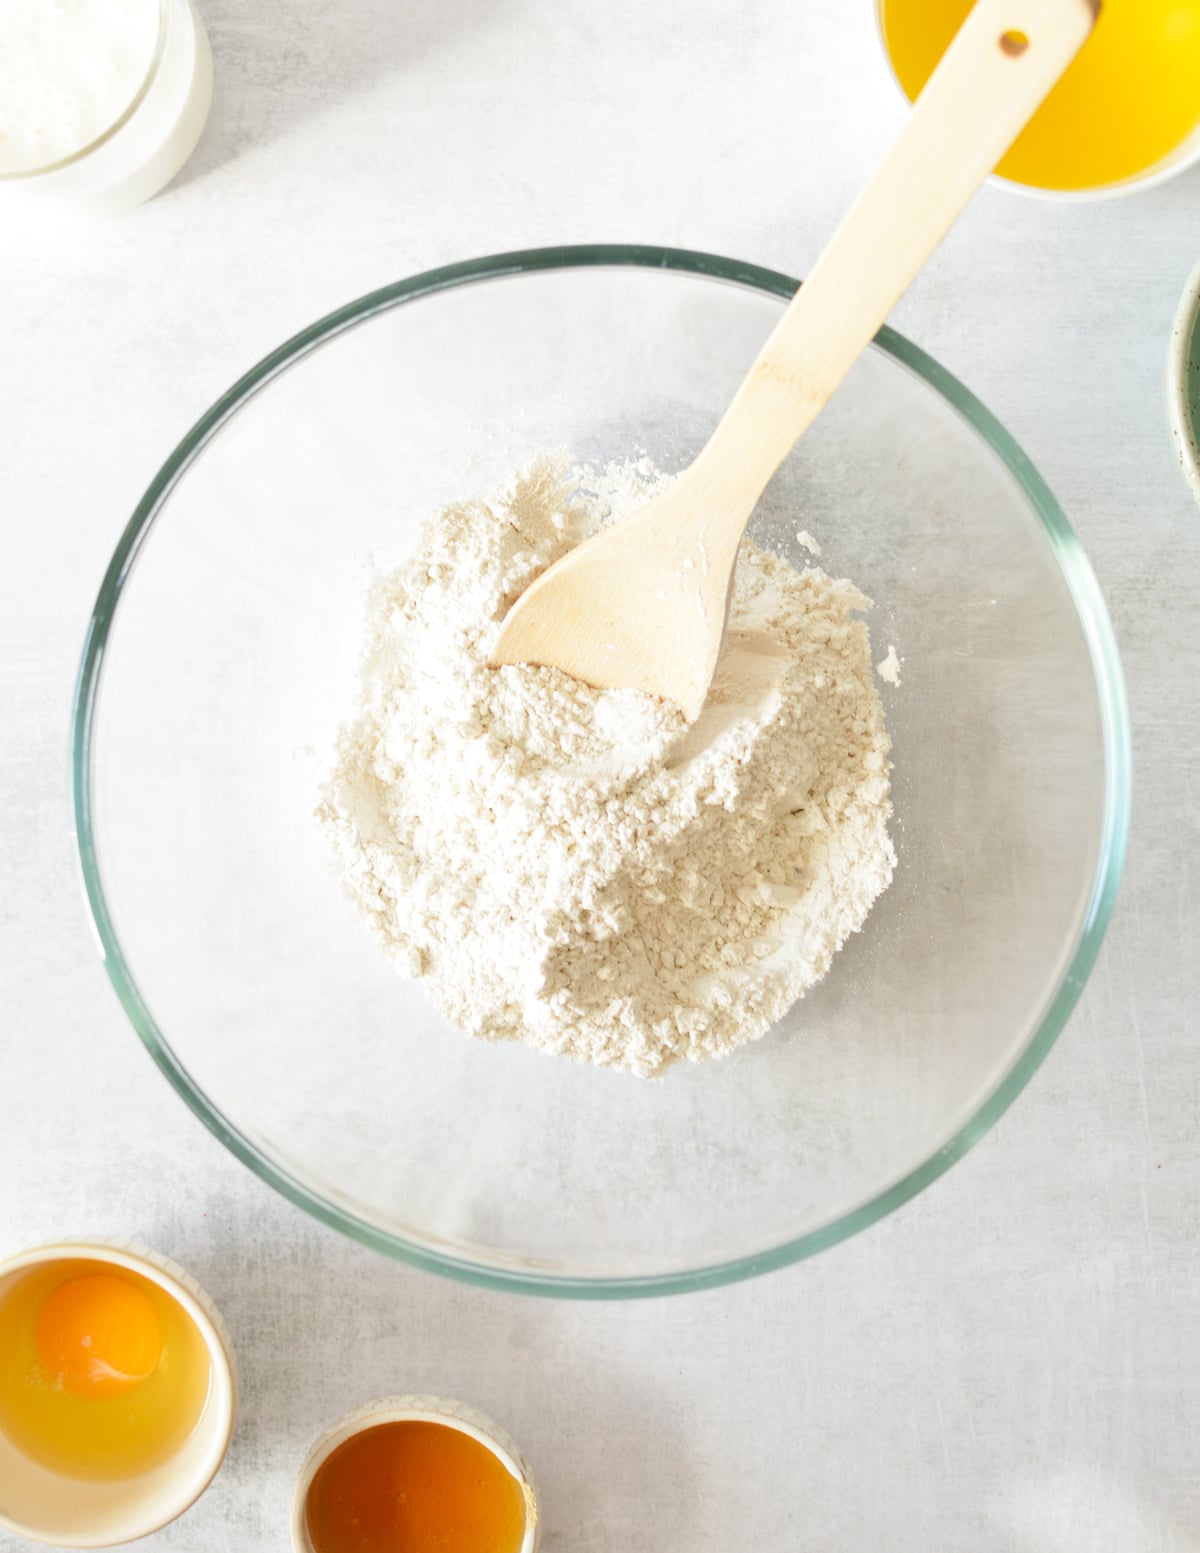
In a liquid measuring cup, whisk the buttermilk, egg, and honey together. Add to the dry ingredients.

Add the melted butter. Stir until a pancake batter forms. Resist the urge to overmix.
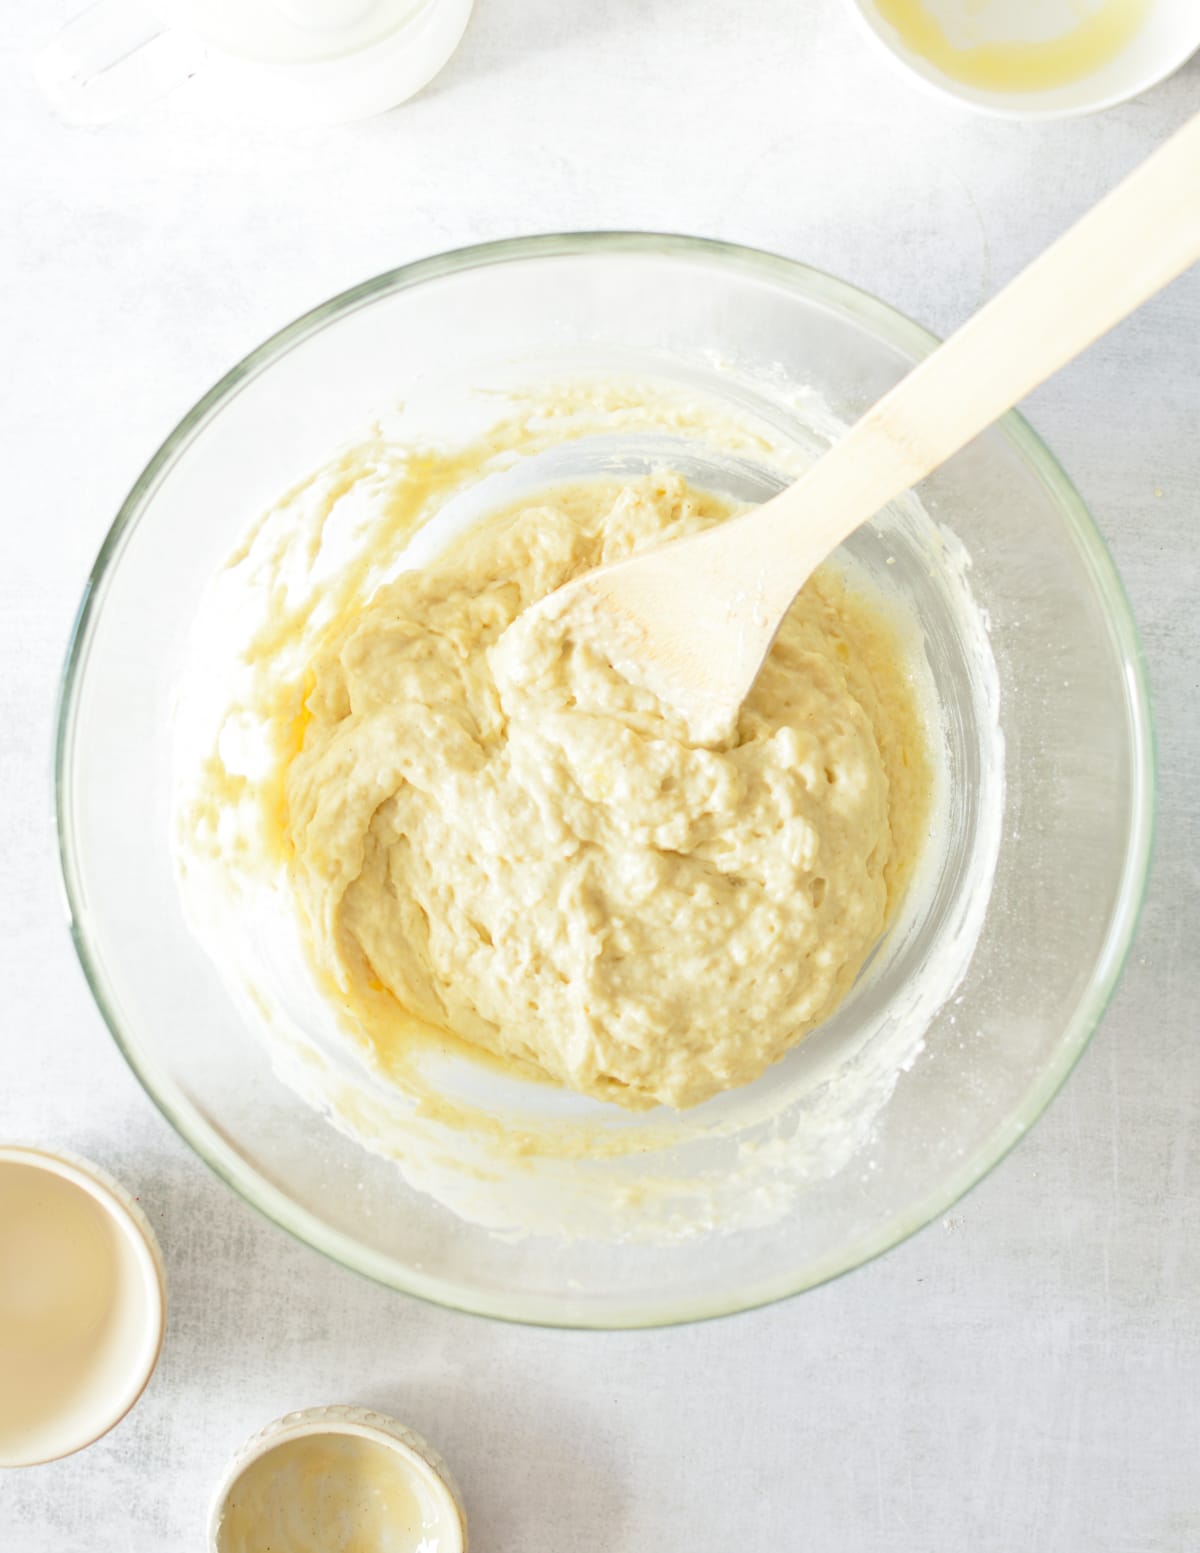
Now you have the pancake batter. Let the pancake batter sit for 10 minutes. Doing so activates the baking powder and results in a fluffier pancake! Which brings me to the next step:;
Cook the Honey Pancakes
While the batter sits, heat a 12-inch nonstick skillet over medium-low heat. The temperature should be low BUT the pan should be hot! Don't add the pancakes until it is!!
Add a little bit of vegetable oil to the skillet. Use a large cookie scoop to scoop pancake batter into the hot skillet.
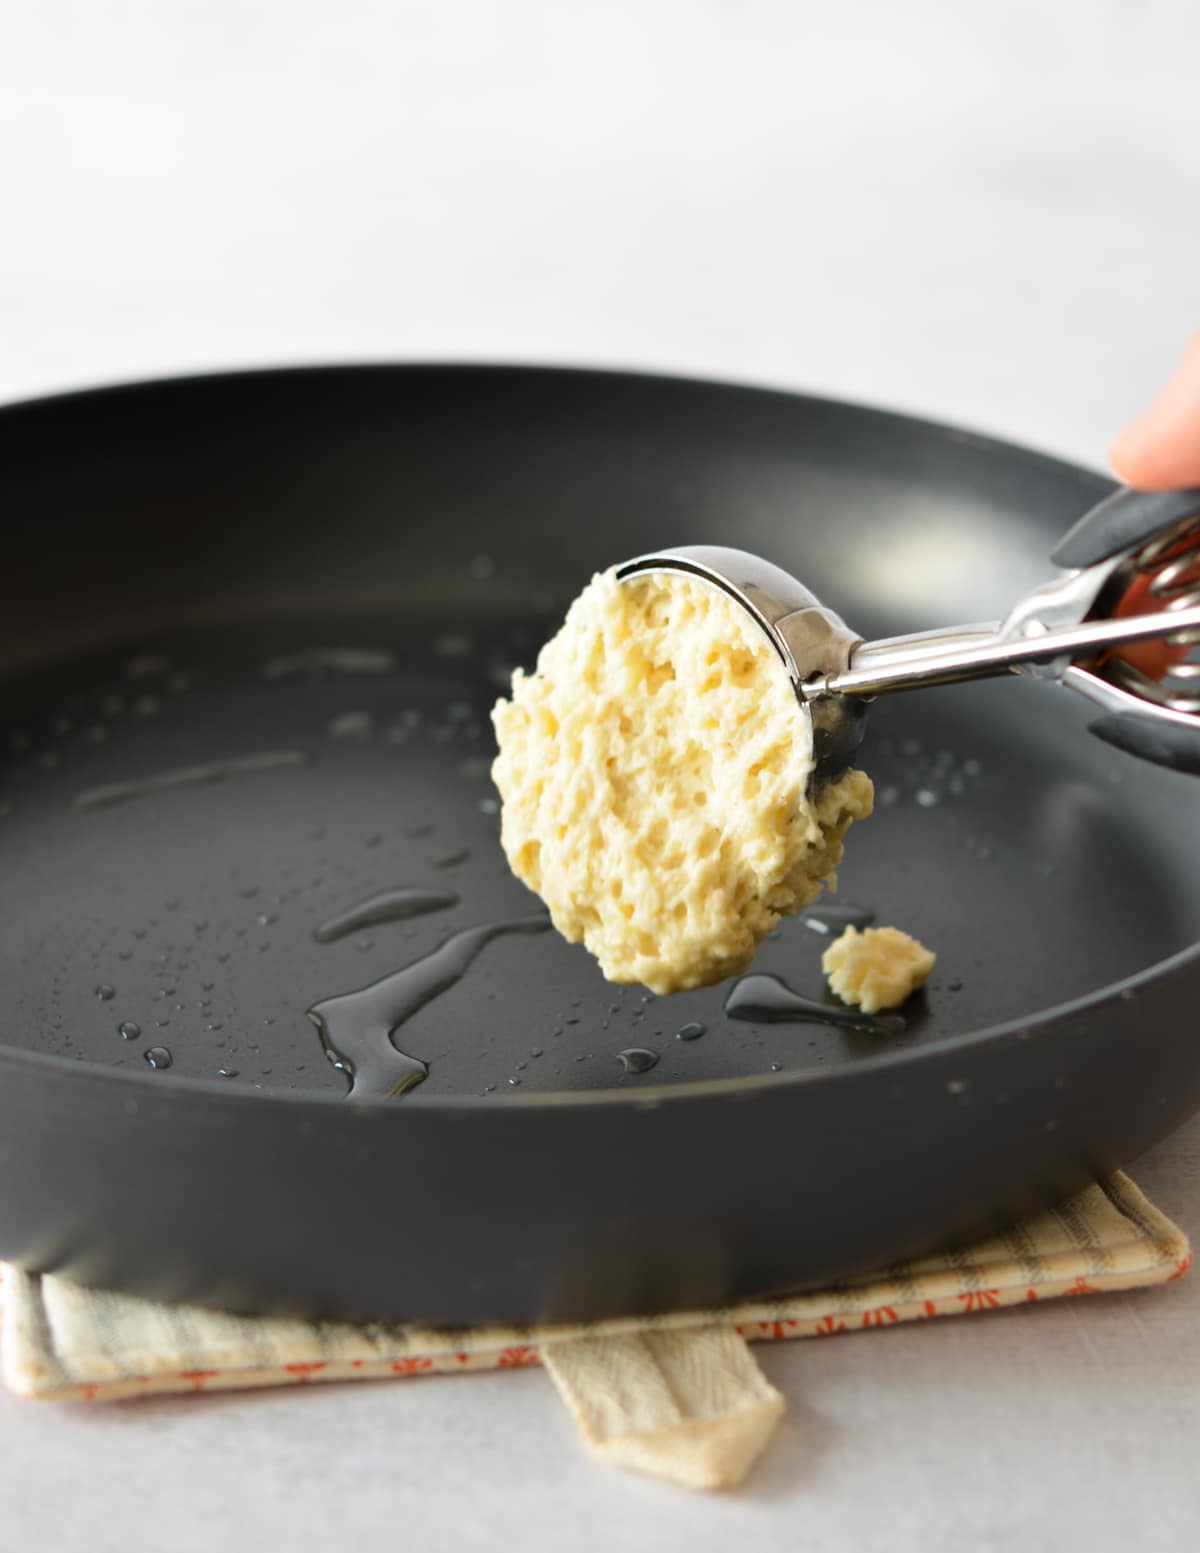
My skillet fit three pancakes. The batter will spread as it cooks so keep that in mind.
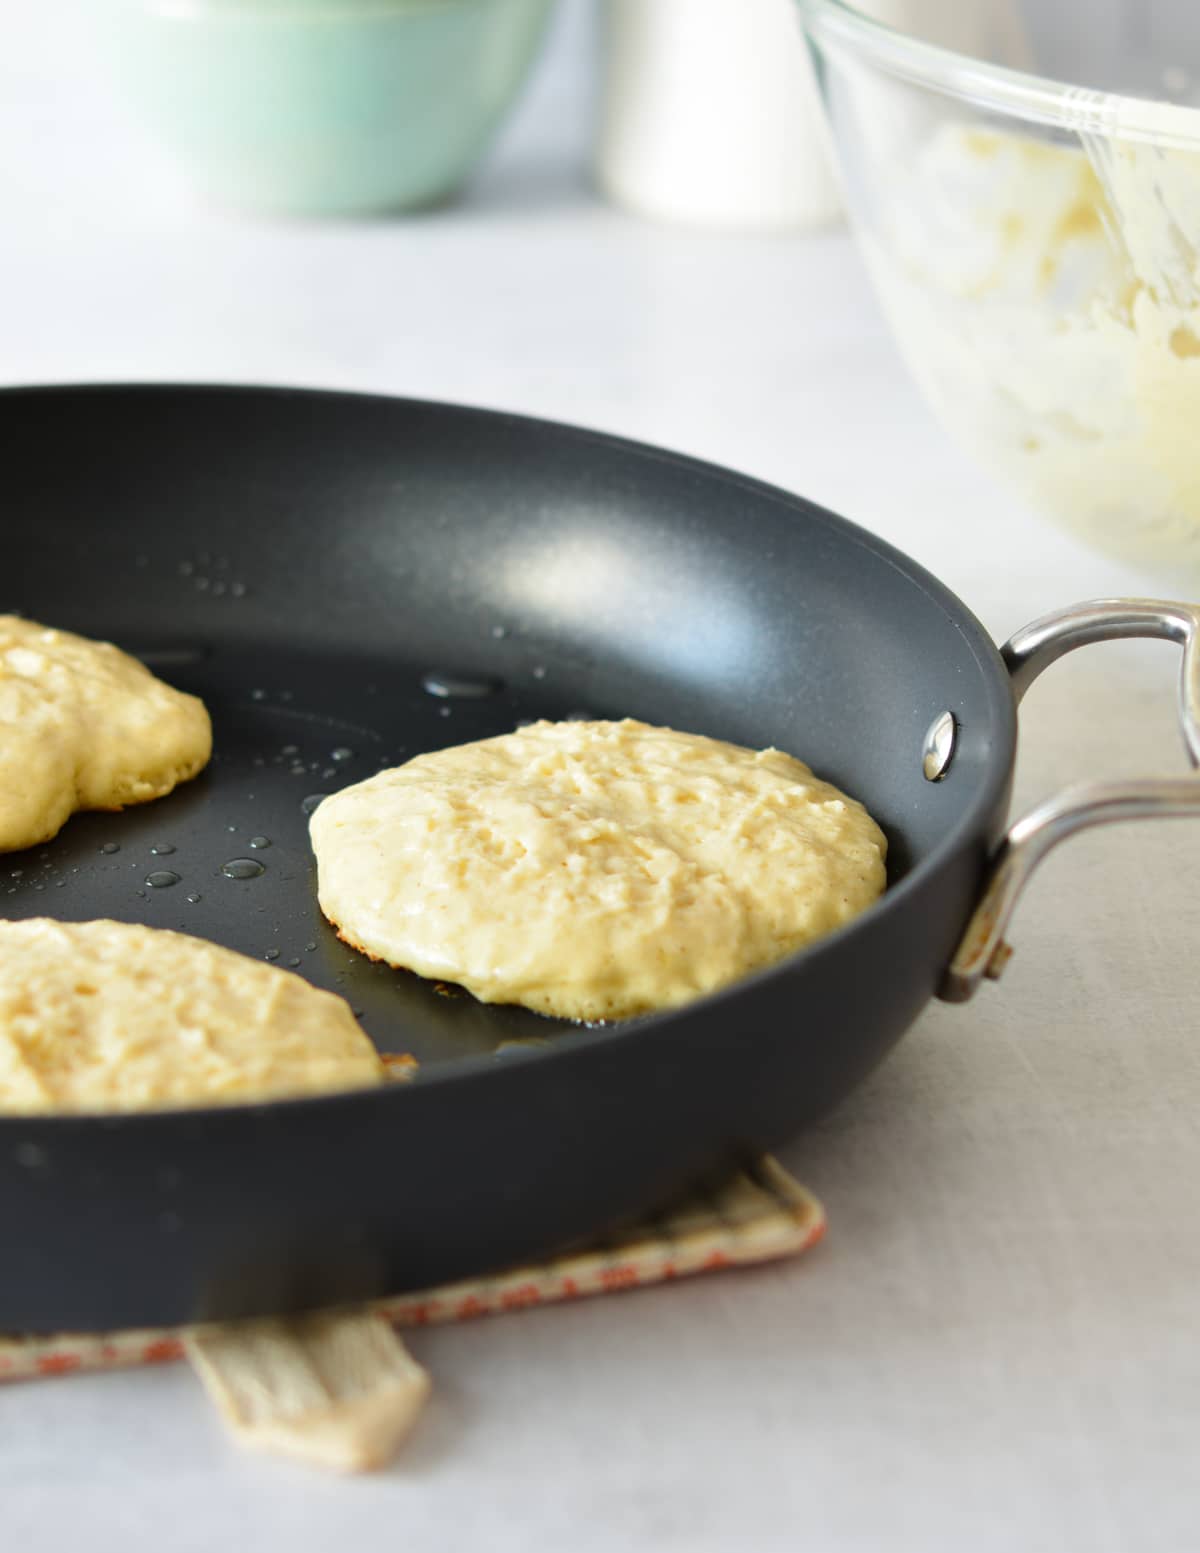
Cook the pancakes until the bottoms are golden brown and the tops are starting to bubble all over, about 4 minutes.

Use a thin-set spatula to flip the pancakes over. Cook for another 3 minutes or until the middles are cooked through.

Carefully remove the pancakes from the skillet. Enjoy immediately!
Recipe Tips:
- Don't skip the buttermilk. I highly recommend store-bought buttermilk. Homemade buttermilk with whole milk and vinegar isn't as thick and doesn't work the same in the batter.
- Make sure the skillet is up to temp. I know it's tempting to just throw the pancake batter into the skillet as fast as humanly possible, but don't! The skillet should be hot and up to temp before you add the pancakes or else they won't cook properly.
- Don't flip the pancakes too early. You should see plenty of bubbles before you flip them. If you flip too early, the insides won't be cooked all the way through.
- The heat should be set to medium-low. While the pan should be up to temp, it shouldn't be set too high. If the skillet is too hot, the pancakes will burn before you have a chance to cook the insides and flip them over.

Storage & Freezing:
Pancakes with honey are freezer-friendly! Whenever I have leftovers, I skip the fridge and go immediately to the freezer. This way they won't dry out or worse, be forgotten.
Once the pancakes are completely cool, transfer them to a zip-top freezer bag.
Freeze for up to 6 months. Mine never last that long! To defrost, just pop one in the microwave and heat in 15-second increments until warmed through.
Don't overheat the pancakes! If you microwave them too long, they will get greasy instead of warm and fluffy.
Variations:
- Gluten-free - To make these pancakes gluten-free, swap the all-purpose flour with Bob's Red Mill's 1 to 1 Gluten Free Baking Flour. It has a gluten-like taste and texture with no strange aftertaste!
- Toppings - Try nut butter, nutella, honey, maple syrup, granola, chocolate chips, sliced bananas, berries, sprinkles, or whipped cream!
Pancake FAQs:
Is honey good for pancakes?
Yes! For even more honey flavor, top these pancakes with honey instead of maple syrup! Drizzle it on top or slather on spreadable creamed honey. It tastes great with berries, banana, nuts, butter, nut butter, or granola.
Pancake Recipes:
- Joanna Gaines Best buttermilk pancake recipe
- Thin & Crispy Pancakes
- Fluffy Gluten Free Pancakes
- Cassava Flour Pancakes [Paleo & Gluten Free]
- Silver Dollar Pancakes
Honey Pancakes
Equipment
- 12 inch Nonstick skillet
Ingredients
- 1 cup all-purpose flour
- 1 teaspoon baking soda
- 1 teaspoon baking powder
- ⅛ teaspoon kosher salt
- 5 tablespoons unsalted butter melted but cool
- 1 large egg
- 1 cup buttermilk
- 2½ tablespoons honey
Instructions
- In a large bowl, combine the all-purpose flour, baking soda, baking powder, and salt. Stir to combine.
- In a liquid measuring cup, combine the buttermilk, egg, and honey. Whisk to combine.
- Pour the melted butter and the buttermilk mixture into the dry ingredients. Stir to combine.
- Heat a 12-inch nonstick skillet over medium-low heat. Let the pancake batter sit for 10 minutes while the pan gets nice and hot.
- Once the skillet is hot, add a little bit of canola oil to it. Use a large cookie scoop to scoop 3 pancakes into the skillet.
- The pancakes will spread a little bit as they cook. Cook until the bottom is golden brown and you see lots of bubbles, about 3 to 4 minutes. Flip the pancakes and cook until the center is cooked through, about 3 minutes.
- Repeat with the remaining batter. Enjoy immediately!


Leave a Reply