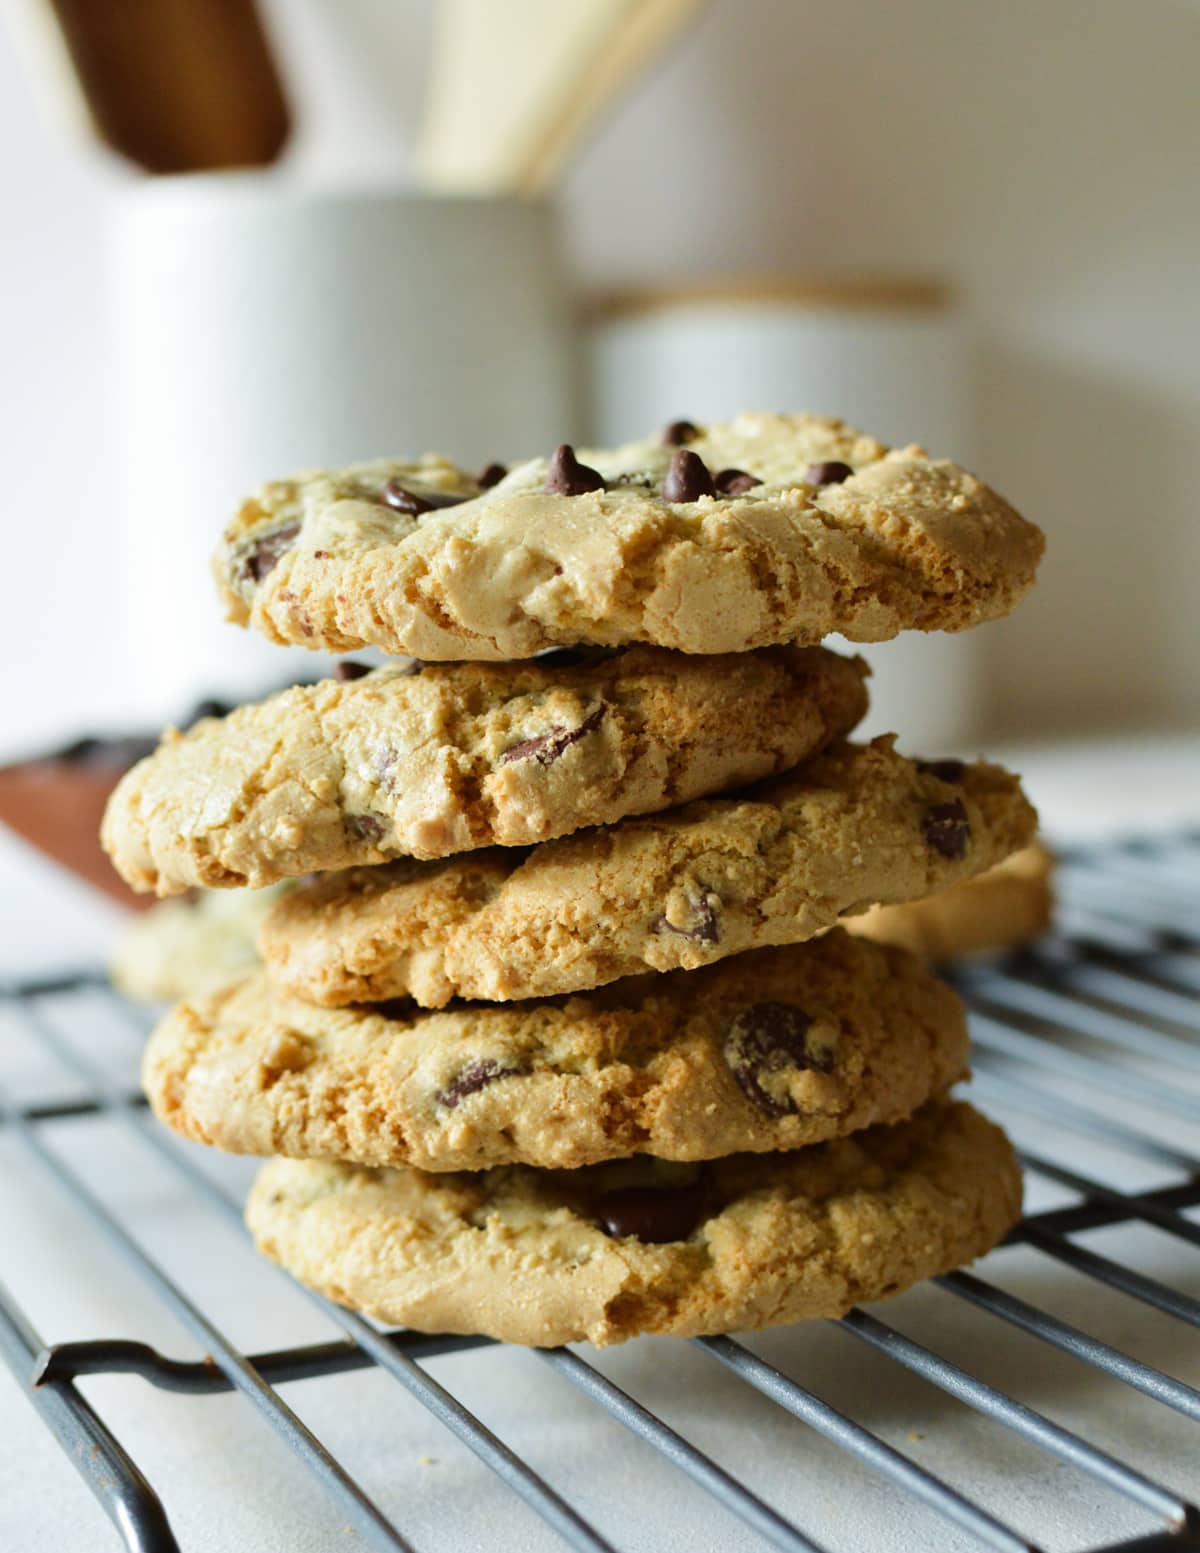
If you're fresh out of butter with a hankering for cookies, no butter cookies are for you! They have crispy edges, chewy middles, and plenty of chocolate chips. These butterless cookies use vegetable oil instead of butter with delicious results.
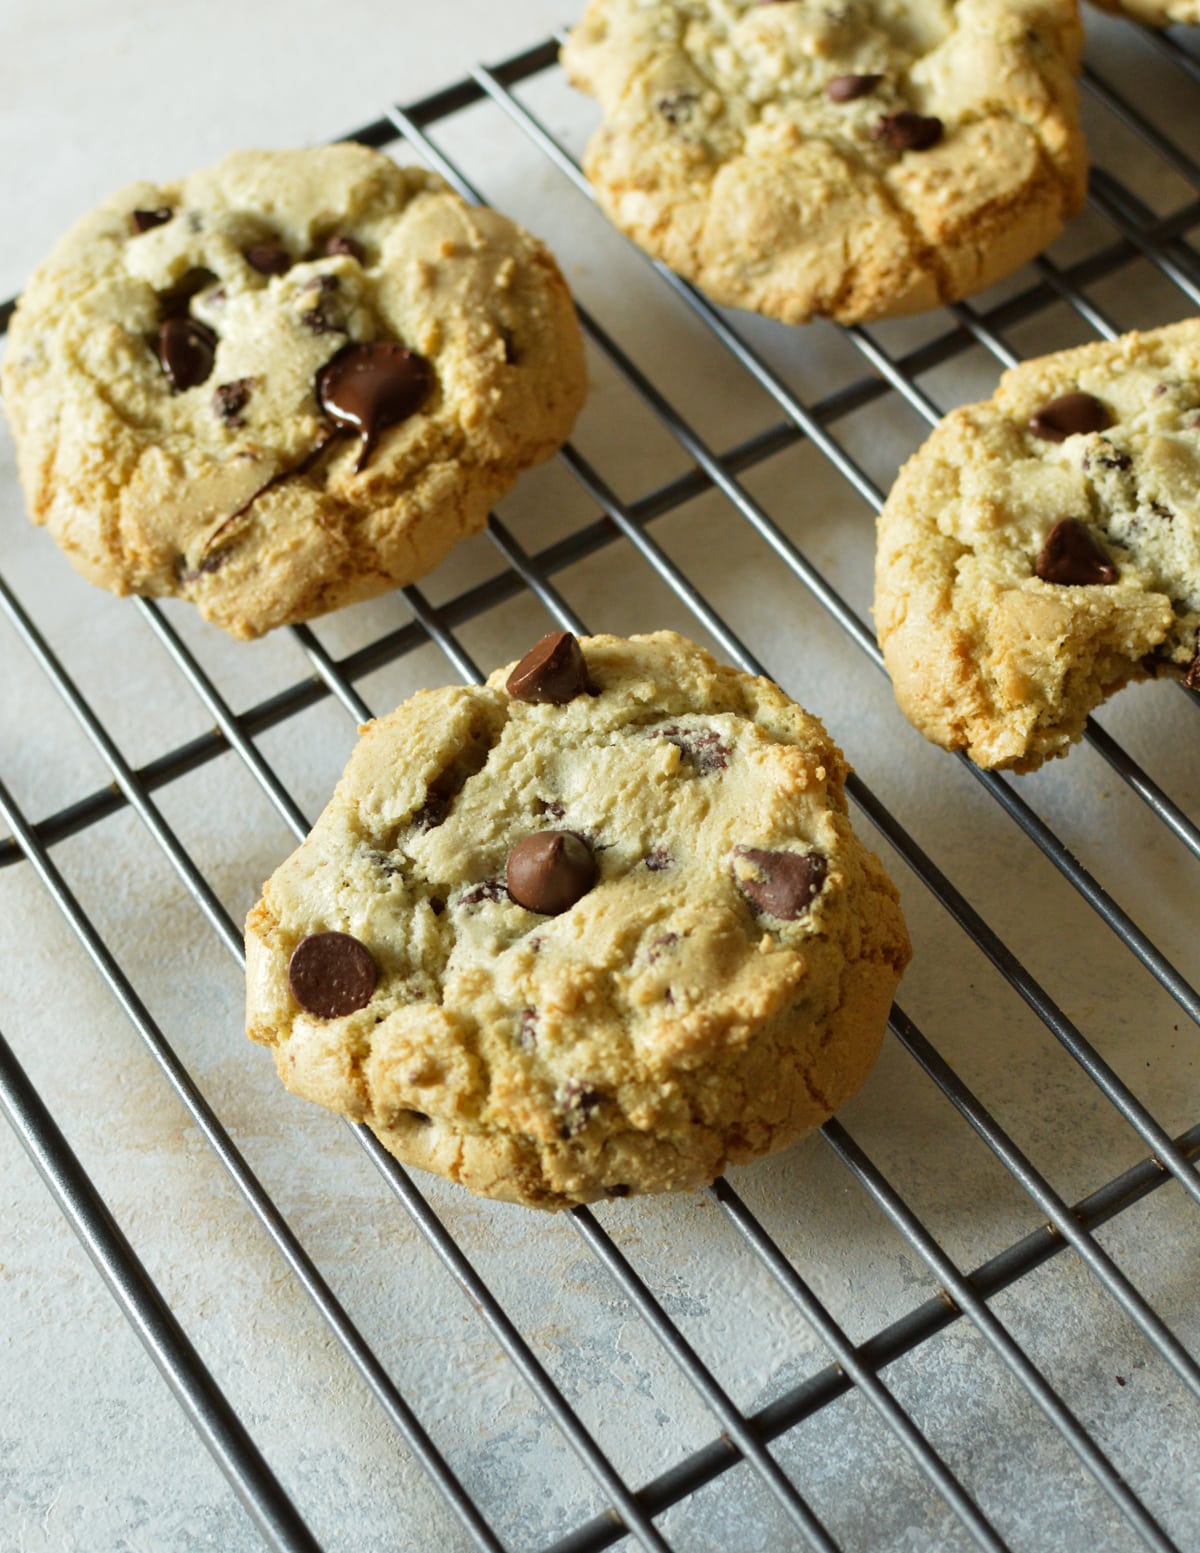
If you're out of butter or just can't have it, don't kiss cookies goodbye! These cookies without butter are dangerously good. They have golden, crisp edges with soft centers and plenty of gooey chocolate chips.
I can't tell you how many times I've checked the fridge only to find no butter in it! What's a cookie addict to do? I grabbed a bowl, a cookie scoop, and some vegetable oil, and got to work.
And the results were delicious! These chocolate chip cookies with vegetable oil are, dare I say it, just as good as butter-filled ones. And that's coming from someone who adores butter. Guilty as charged.
Ingredients
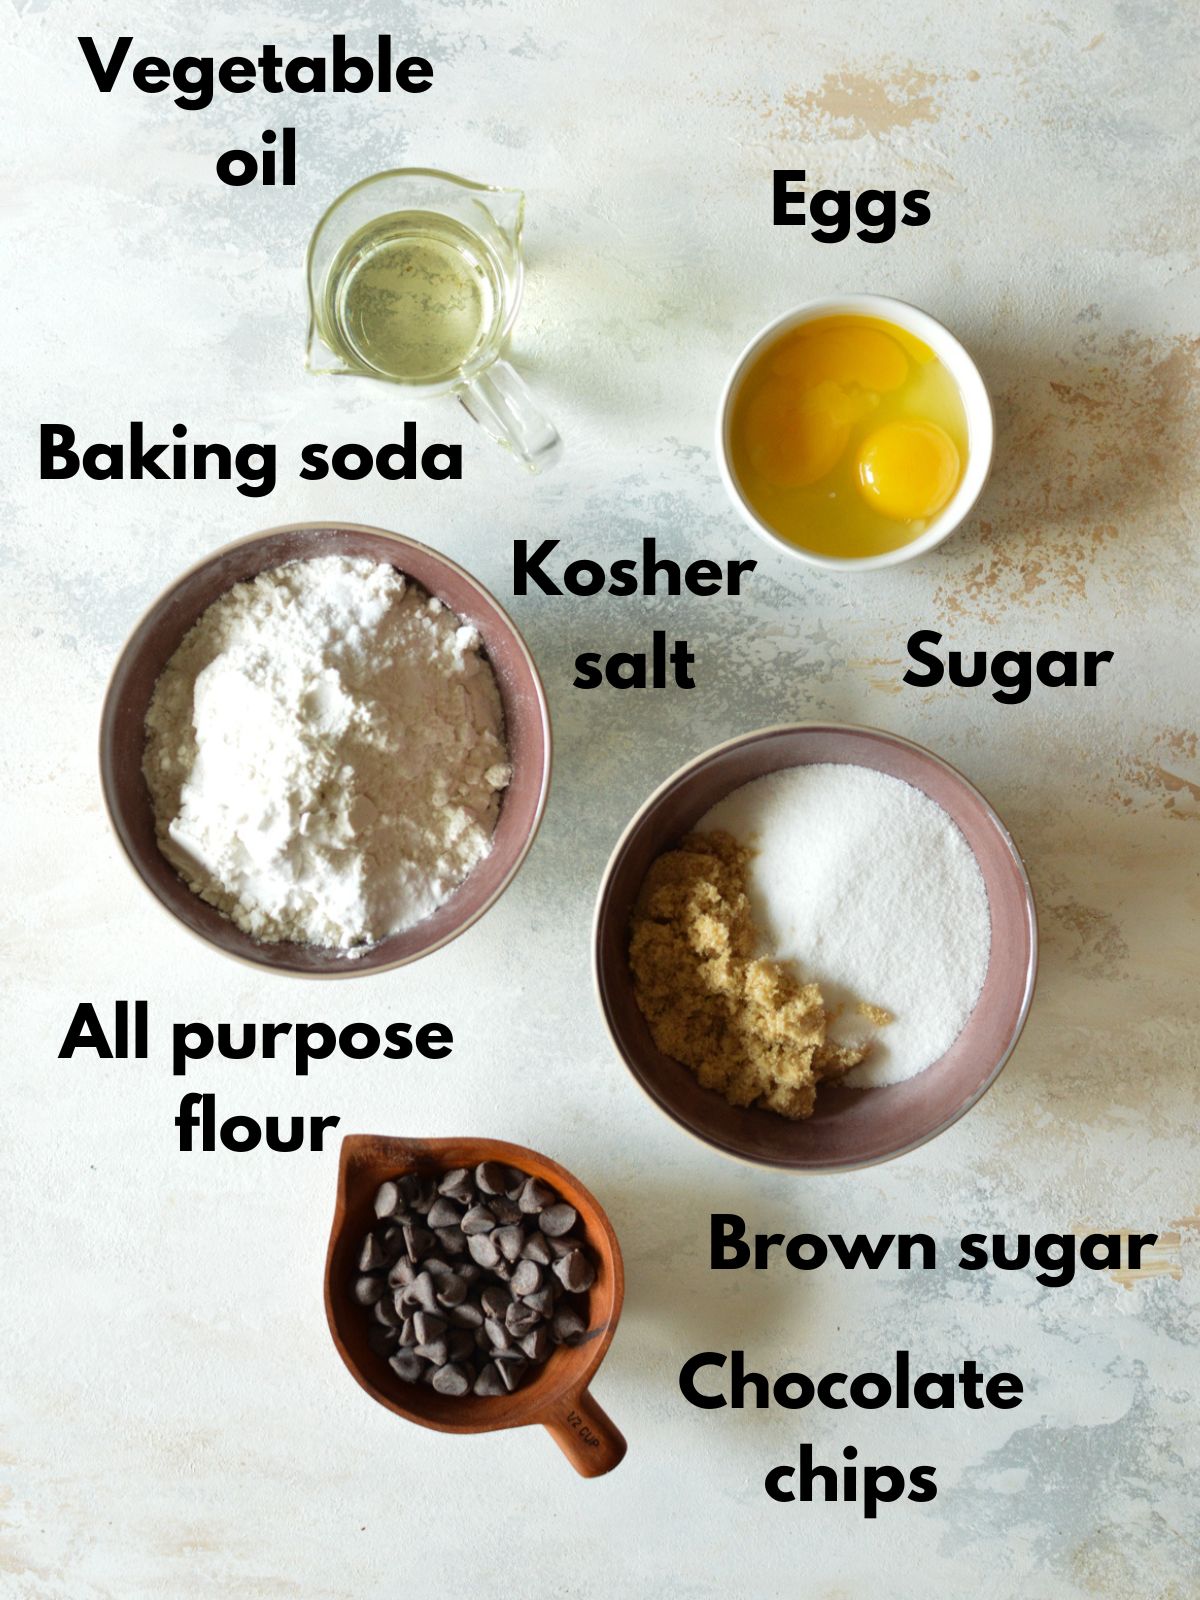
- Vegetable oil - Or another neutral flavored oil, like canola oil. Avoid using strong-flavored oils like olive oil. The taste will come through & it won't be pleasant.
- Sugar - To sweeten the cookies!
- Brown sugar - The acid in the molasses reacts with the baking soda to create rise! The brown sugar +white sugar combo creates the best textured cookies.
- Egg + yolk - I almost always add a yolk to my cookie recipes now. The difference is dramatic. A yolk ensures the cookies are positively soft, chewy, and dense in the best possible way.
- All-purpose flour - Flour binds the eggs and sugar together. If you can't have gluten, swap with Bob's Red Mill's 1:1 Baking Flour.
- Baking soda - Cookies need a leavening agent so they aren't hockey pucks.
- Kosher salt - Salt enhances sweetness! This is why a little bit of salt makes its way into most cookie, cake, and muffin recipes.
- Semisweet chocolate chips - And plenty of 'em!
How to Make Cookies Without Butter
Be sure to preheat your oven to 375 degrees before you start. Line a sheet pan with parchment paper so the cookies don't stick.
Combine ingredients: In a large bowl or the bowl of a stand mixer, combine the oil, sugar, brown sugar, egg, and the yolk.
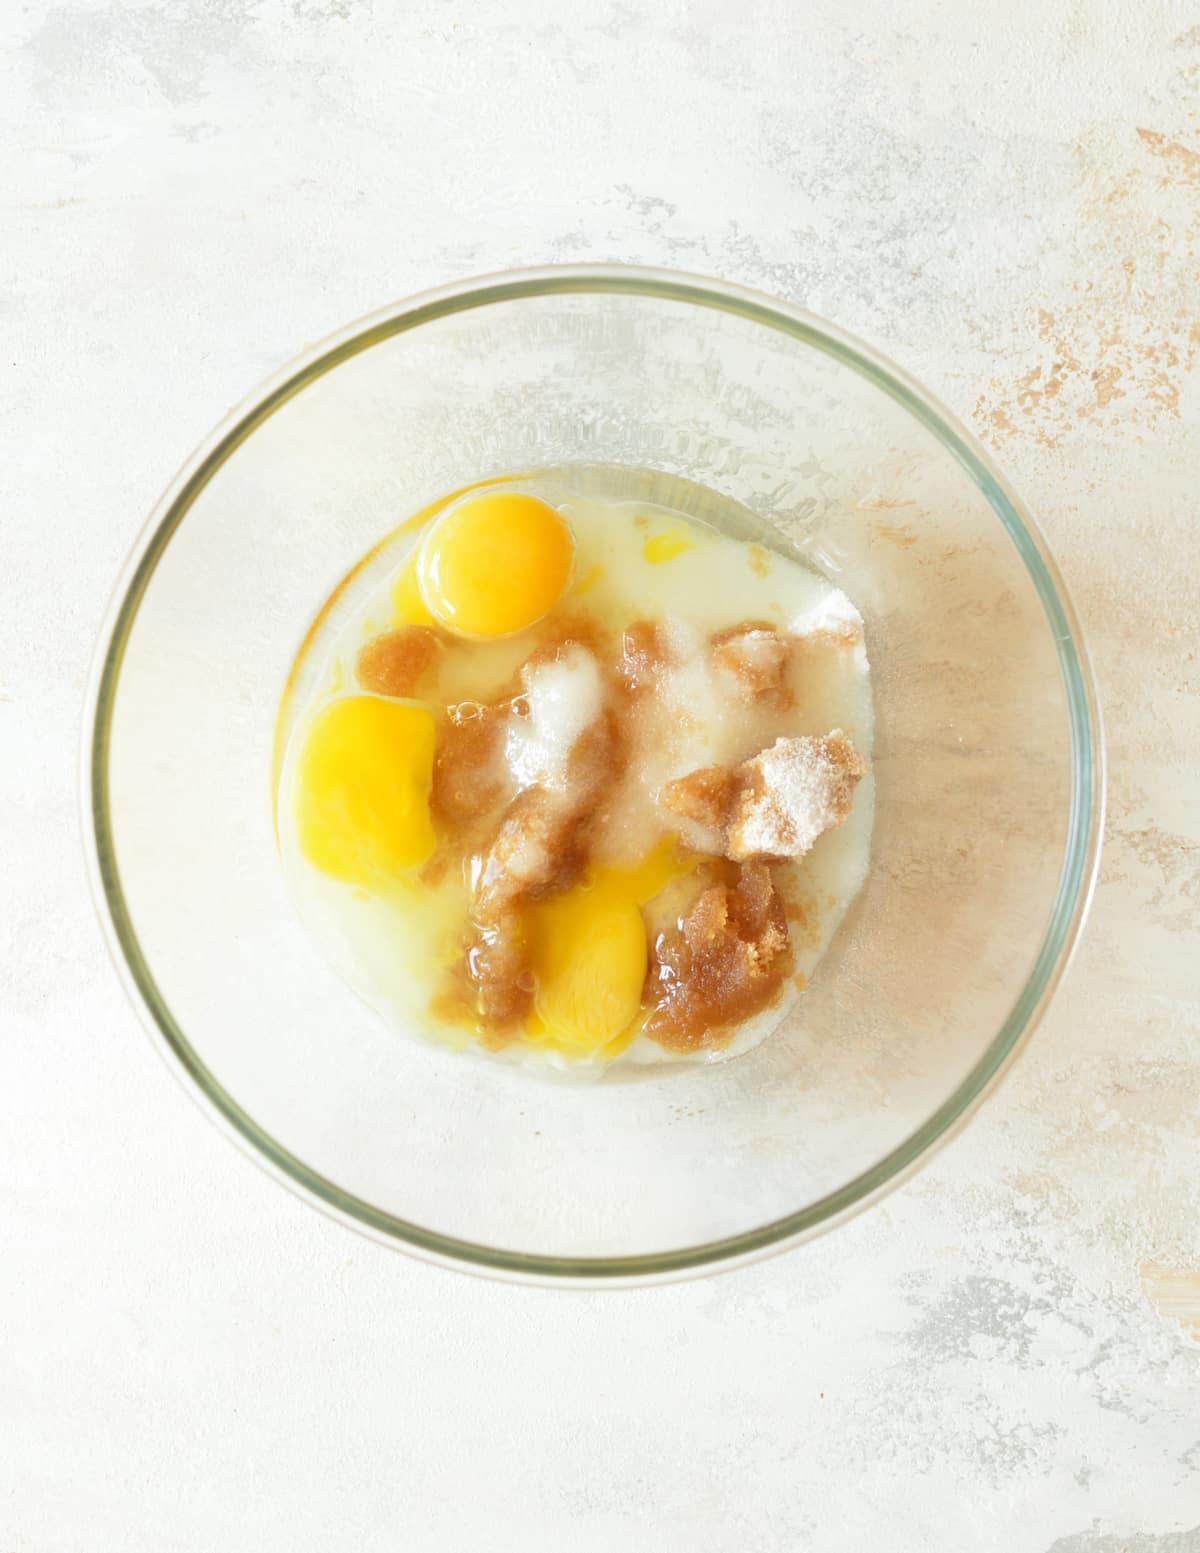
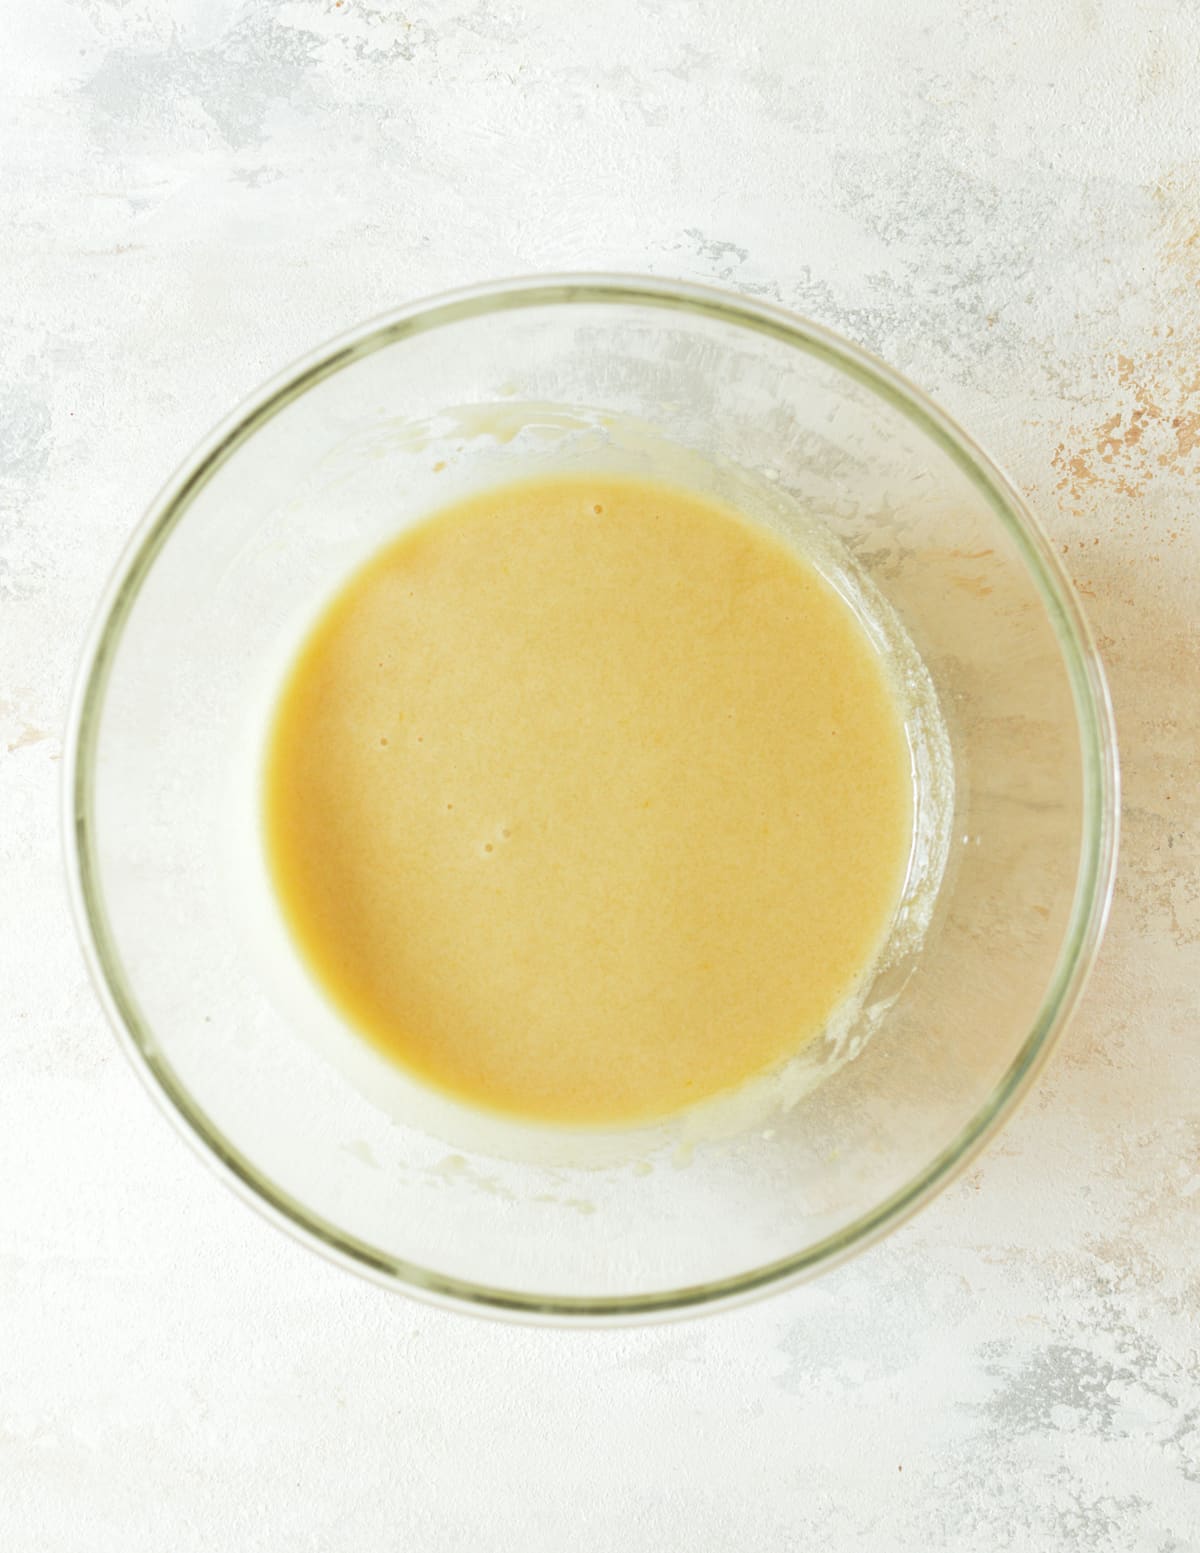
Beat the oil mixture: Beat the oil, egg, and sugar mixture for 45 seconds - until light and creamy.
Add the dry ingredients: Add the all-purpose flour, baking soda, and kosher salt to the oil mixture.
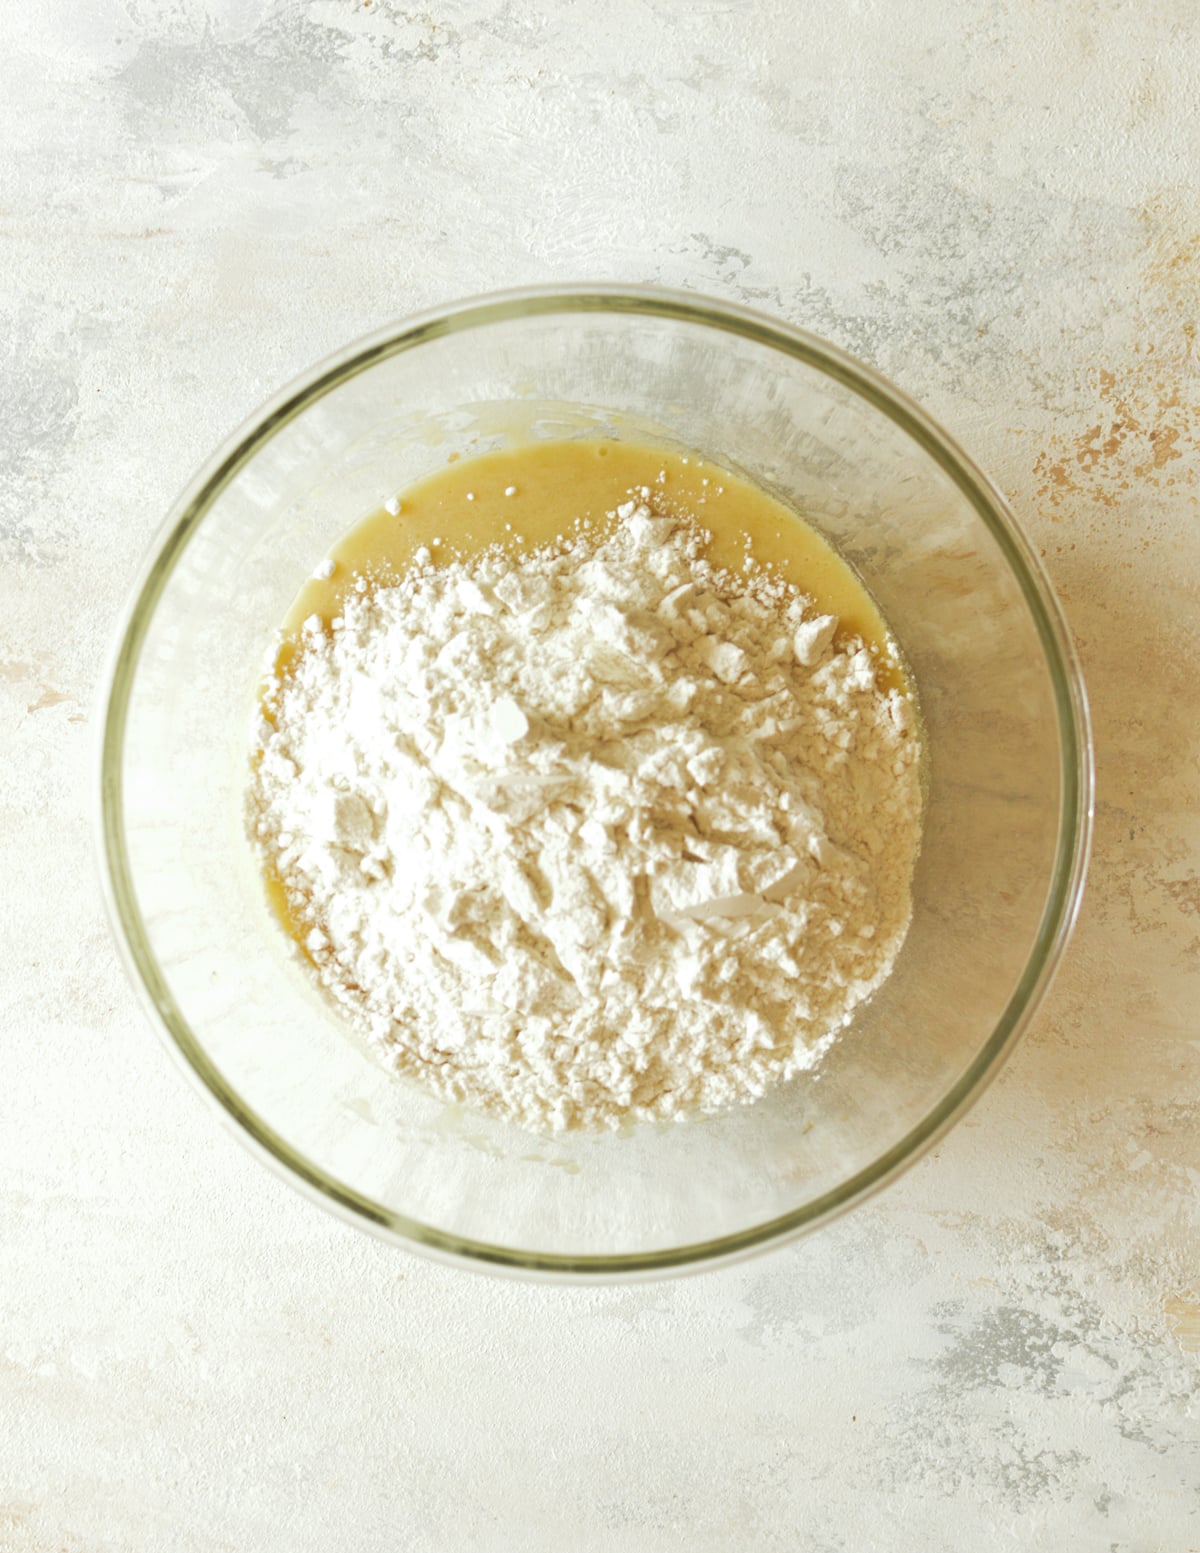
Beat until a cookie dough forms: Beat until the dry ingredients are completely incorporated, then add the chocolate chips.
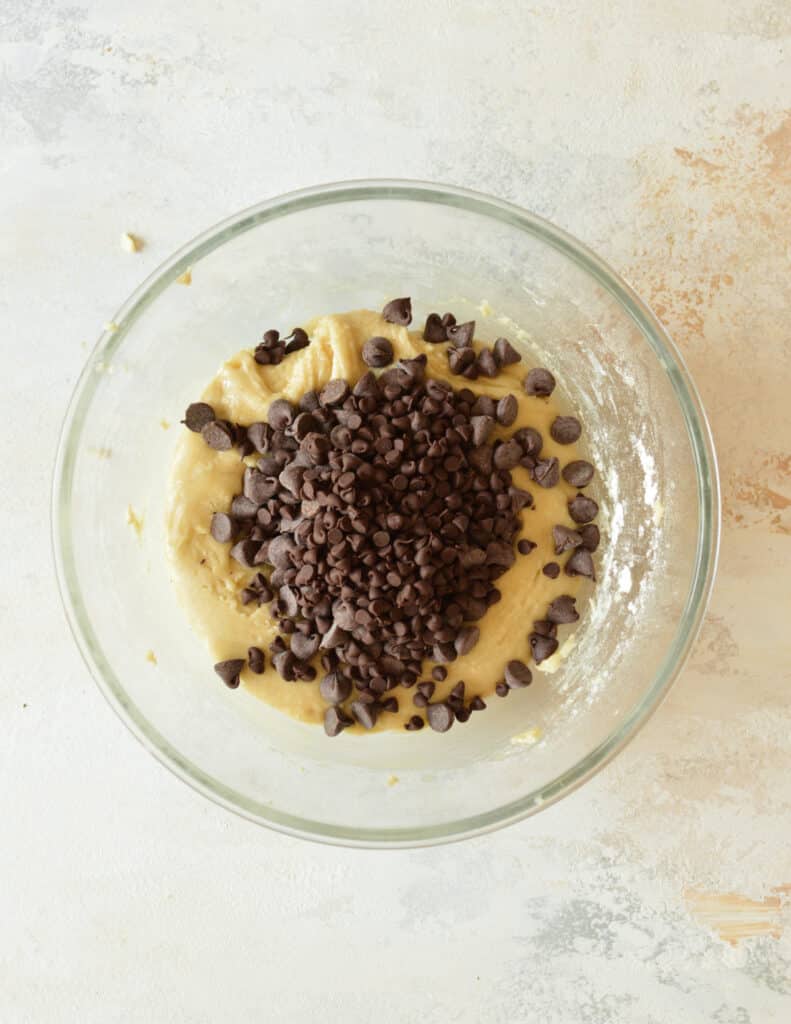
Stir in chocolate chips by hand: Use a spatula to stir in the chocolate chips.
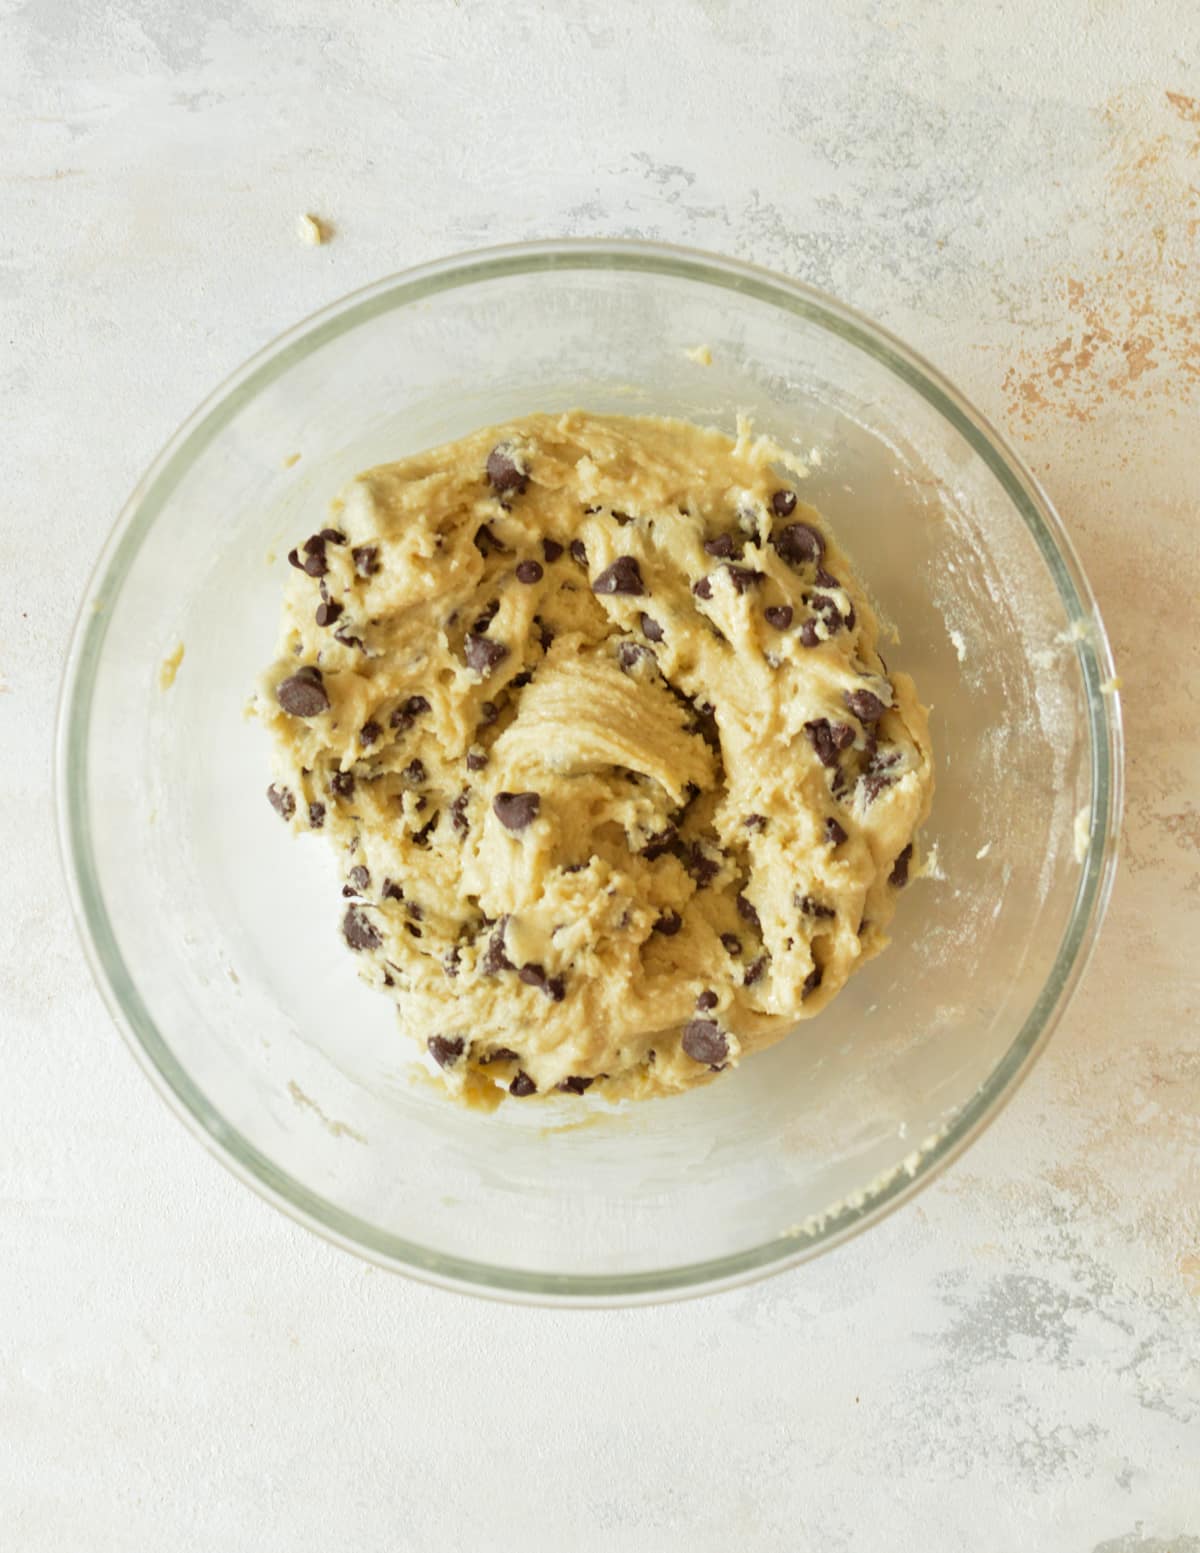
Scoop cookie dough onto a pan: Use a small cookie scoop to scoop the cookie dough onto a parchment lined sheet pan.
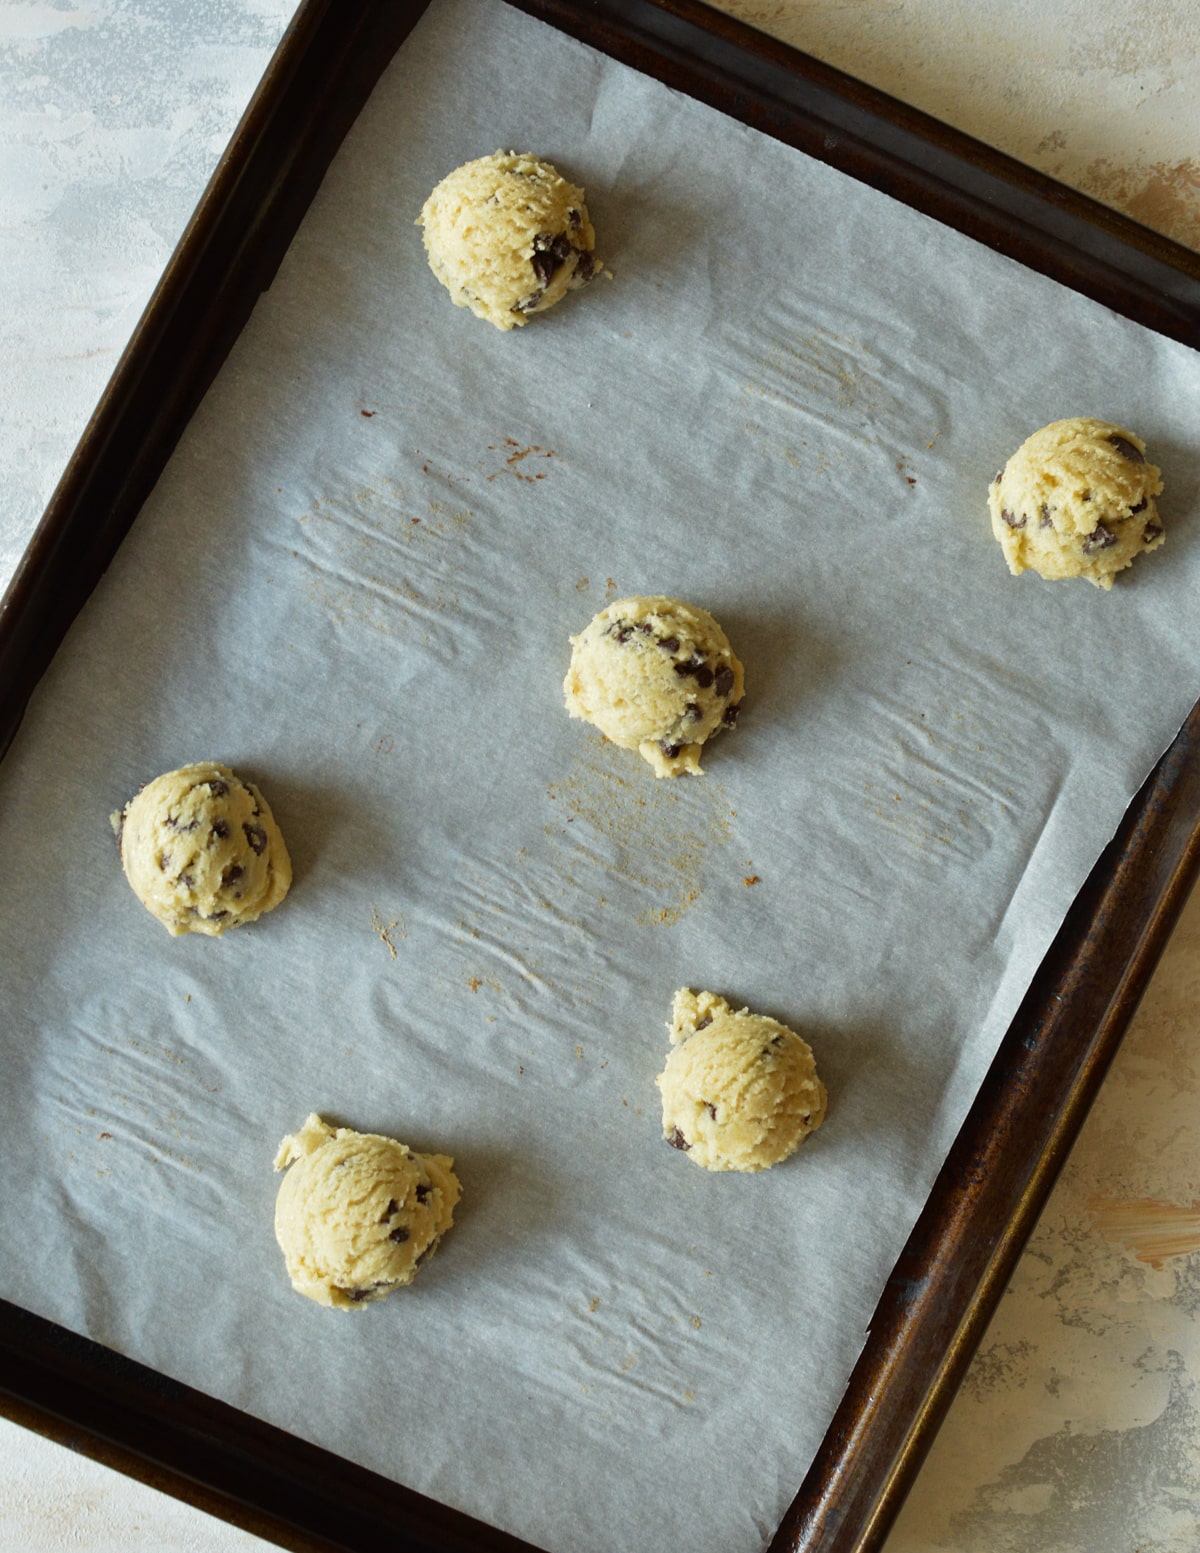
Bake no butter cookies: Bake the cookies for 10 to 11 minutes, until the edges are golden brown and the insides look underdone. The whole cookie shouldn't be brown when you pull them out of the oven!
Recipe Tips
- Let the cookies cool on the sheet pan for a few minutes before you move them. They set up as they cool, and hot cookies fall apart!
- The no butter cookies shouldn't look done when they come out of the oven. If they do, they're overbaked! The edges should look golden brown, and the middles should look slightly underdone. They will set up as they cool.
- Use an electric hand mixer or a stand mixer with the paddle attachment for this recipe. The dough will be sticky but thick, and tough to mix without it.
- Do not swap the oil with butter in this recipe. They aren't a 1:1 substitution and this recipe won't come out right.
Variations
- Mix-Ins - Feel free to mix it up! Swap chocolate chips with M&M's, white chocolate chips, butterscotch chips, or cinnamon chips. You could also add dried cranberries, pecans, shredded coconut, sprinkles, or peanut butter chips.
- Dips - What's better than a chocolate chip cookie? One that's dipped in chocolate! Try melted dark, milk, or white chocolate.
Storage & Freezing
How to store:
- Let the cookies cool to room temperature first, then store them in a ziplock bag or airtight container for up to 3 days.
How to freeze:
- Unbaked: Scoop the cookie dough onto a parchment lined plate or half sheet pan. Transfer the plate to the freezer and freeze for 1 hour. Dump the frozen cookie dough balls into a sealed freezer bag and label with the date. Use within 3 months for best results.
- Baked: Transfer the cooled, baked cookies to a freezer-safe bag or container and freeze. Use within 3 months for best results. If the cookies stay in the freezer too many months, they taste freezer burnt.
FAQs
Yep! Vegetable oil tastes surprisingly delicious in cookies! The texture is spot on with crispy, golden brown edges and soft centers. But don't just find a cookie recipe and sub in butter. It's not a 1:1 substitute so it's crucial to find a cookie recipe that calls for oil in place of butter.
No, this chocolate chip cookie with oil recipe spreads just the right amount. There's no need to chill the dough so it doesn't spread.
Drool-Worthy Cookie Recipes
- Coconut Pecan Cookies
- Peanut Butter Oatmeal Cookies
- Flourless Oatmeal Cookies
- Flourless Peanut Butter Cookies

No Butter Chocolate Chip Cookies
Equipment
- Sheet pans
- Cookie scoop
- Stand mixer or electric hand mixer
- Measuring cups & spoons
Ingredients
- ⅓ cup vegetable oil
- ½ cup sugar
- ¼ cup brown sugar
- 1 egg + 1 yolk
- ½ teaspoon baking soda
- ¼ teaspoon kosher salt
- 1 ⅓ cup all purpose flour If you avoid gluten, use Bob's Red Mill 1:1 Gluten Free Baking Flour instead.
- ¾ cup semisweet chocolate chips
Instructions
- Preheat the oven to 375 degrees Fahrenheit.
- In a large bowl, combine the oil, sugar, brown sugar, egg, and yolk. Beat on medium speed until light & fluffy - about 45 seconds.
- Stop the mixer and add the flour, baking soda, and salt. Beat on low speed until thoroughly combined.
- Stir in the semisweet chocolate chips.
- Scoop the cookies onto a parchment lined sheet pan, giving them plenty of space to spread in the oven. I scooped 5 to 6 per pan.
- Bake for 10 to 11 minutes, until the edges are golden and the insides look underdone. The whole cookie should not look brown!
- Let the cookies cool for a few minutes on the pan, before transferring to a wire rack. Enjoy!


Leave a Reply